Posts in Errors
Preparing for 3D Print - An Architect’s Guide
 

“Let's talk about fixing, for 3D.

Let's talk about your file, and see.

Let's talk about all the good things and the bad things, that may be.

Let’s talk about…”

Inspired by Salt N Pepa

We most likely have your attention now, which is important because the scintillating subject of architectural file preparation for 3D printing awaits you; a few simple steps that will save you from many a restless night (‘Did I really turn off all the layers?’). If you follow this procedure closely then 3D printing will be as much a compliment to your design process as Salt was to Pepa.


Whatever the design stage or the audience, a model is a powerful decision-making tool: offering the ability to see your design in the real world; to touch it; interrogate it and compare it. Unfortunately understanding what is possible, within the timeframe and especially within the budget is not always black and white. To provide you with these answers we need to be supplied with relevant design information and your preferences for how your design should be communicated.

Providing Information for an accurate Quotation

This won’t be the last time we mention this, but we have built a web-based tool for exactly this purpose.

giphy.gif

1_HOUSEKEEPING

First things first, it’s important to be organised to help avoid any confusion with ongoing design work, so save a copy of your design file.

a_Create a New Folder:

e.g. “Fixie Quote”

“Fixie 3D Printing Quote”

“I Heart Fixie”

In this folder save a packaged file of your model here. This will ensure that all referenced drawings that are relevant for a quotation are also included in the information that you send to us. 

I love Fixie 3D

b_Name the file appropriately:

Naming the file for quotation differently will always help to avoid confusion.

e.g drawingname_fixiequote.extension

2_Taking out the TRASH: File Clean-Up

Now it’s time to clean up this new file - all of these steps will help speed up the quotation process and, later on, the fixing process itself. It will also ensure that no unwanted information is printed or equally that no time is wasted working on elements which aren’t important.

We all know what makes a file heavy, even if we try to turn a blind eye to the beautiful million polygon trees we’ve imported for “atmosphere”. Let’s run through some of these items:

a_people

No

b_furniture

No again

c_toilets

Noooooooo

d_Sculptural artwork you’ve downloaded from 3D warehouse

😐

NO

In general, the message here is to think about the relevance of the information provided to achieving the final print. If you have a tight deadline, then the sooner we can assess the file and get fixing, the more likely that deadline will be met. A lighter file allows this to happen, so turn off, or preferably delete, those unwanted layers and detail (sometimes non visible/turned off layers will still be imported into our software).


e_trees

Not unlike the superfluous details above; trees can really slow down files and more often than not they’re actually 2D components and therefore will not print. Depending on whether you want trees included in your model or not, the following approaches apply:

Trees Fixie 3D

3D Printed Trees: Supply trees in the model (up to 1-1000)

Traditional Trees (added by hand): Do not supply trees in the model - a separate tree plan will suffice.

No Trees: Do not supply trees in the model


f_context

It’s pretty amazing that we now have entire cities modelled in 3D. A lot of time can be wasted zooming in and out on a Friday afternoon whilst trying to look busy. However, we don’t need all of London to be uploaded for you to get a cost for your 3D print. And don’t worry we’re still very impressed with the size of your data.

Any and all context data that is not going to appear in the print should be removed or it will add time to delivering at each milestone.

3_SIZING IT UP

Scaling your design to the size it will be replicated at is a useful method for understanding how much time to concentrate on any particular detail. We all get bogged down in making things perfect, but if you realise that the element you’re painstakingly correcting is .1mm when reproduced then you may feel less obliged to put that strain on your eyes.

The first thing we do when fixing a file is to ensure we understand the level of detail we’re looking to print at - this starts with confirming the right scale and size which you can do directly in the viewer.

Scale.png


4_SETTING BOUNDARIES

If the steps above have been followed, then we should be dealing with a clean and easy to assess file. Some key questions remain - what are the extents to the model and if you have a site plug, what is the boundary to this?

The best way to communicate this to us is, coincidentally enough, in 3D - if you draw a box or volume covering the area of the intended print and any plugs, then our software will easily be able to interpret this, we will be able to quickly cut to size without any chance that we’ve missed a key landmark or cut off a relevant adjoining building.

Site Boundary.png

5_PACKING IT UP

Our clients work across all CAD software. Our preference remains the same with each, that we are supplied with one or both of the following file formats:

.OBJ (wavefront)

.FBX (Motion Builder)

.SKP (SketchUp)

Receiving multiple formats is ideal as exports of complicated designs can lead to temperamental outputs. It also allows us to compare these file types if something looks amiss in one, removing the need for multiple emails.

(even though .STL is the recognised 3D printing file format, exporting from your native CAD software to .STL will often not be possible if you haven’t built the model with 3D print in mind - more on how to model for 3D Print)

6_Sending IT ON Its Way

Since you have already saved a new file all you need to do is resave/export the file and upload it to our online platform.

The use of messenger pigeons is not advised.

The use of messenger pigeons is not advised.

7_WAITING WITH BAITED BREATH


After you’ve specified your project details within our web-app and placed your order, we’ll confirm receipt and approval of the project. If your run into any trouble during the process reach out to us with the in-app chat.

As always, any other questions can we’re here to help.

 
Fixing Series: Error No.3 - Reversed Normals
 

“But mostly I hate the way I don't hate you,
Not even close, not even a little bit, not even at all”

Ten Things I Hate About You

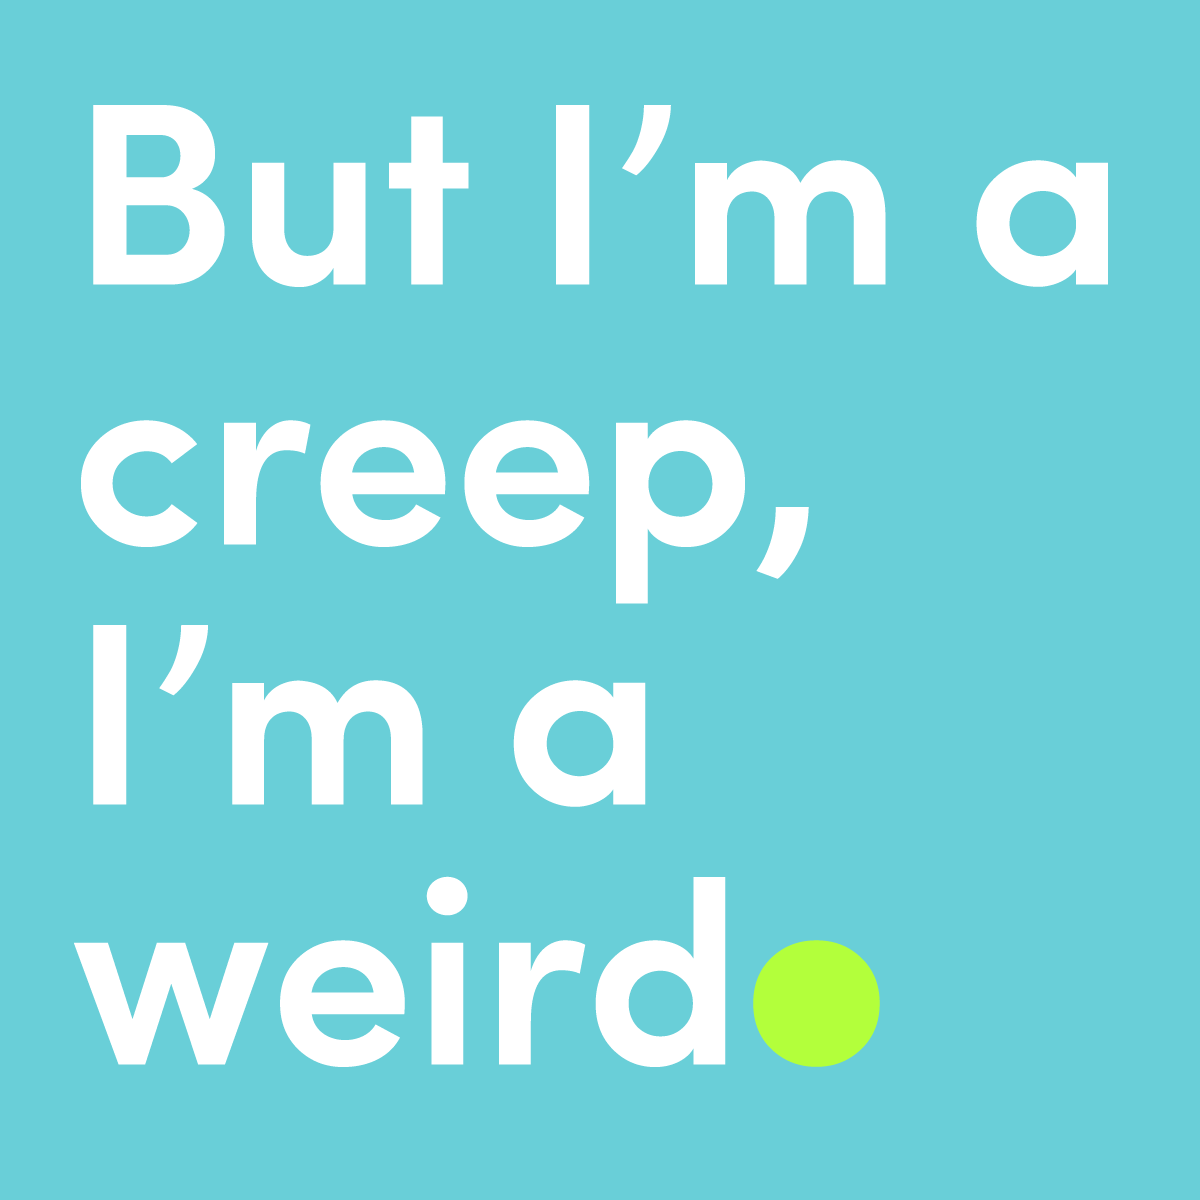
When first hearing the term ‘reversed’ or ‘inverted’ normals you’d be forgiven for having flashbacks to your early teenage years when you were unceremoniously divided by your peers into two distinct categories: normal and not-normal (also commonly known as a weird-o).

Weird "o"

It’s hard to imagine the ignominy that would have come with being labelled a ‘reversed normal’ during these formative years - some part of you is normal, you were so very close, but then you had to go and mess it all up. Typical.

As this fixing series progresses, it seems like each error we encounter exudes a similar stereotype, as if they could be defined by who they hung around with in High School. You remember the movies - there were the Jocks, the Cheerleaders, the Nerds (with many subcategories), Goths, Stoners, Hicks, Creepily Mature Students, Anarchists…the list goes on.

So far we’ve encountered the Bad Edges, who are to be avoided at all costs; the Holes, whose vacuous presence contributes as much to proceedings as the Stoners and now we have the Reversed Normals who elicit images of a student forced to face the corner of a room with a dunce cap on.

Fixie 3d printing inverted normals graphic

Obviously, we need to be a little more sensitive in our treatment of reversed normals these days. After all, they’re just faces looking in the wrong direction. Most softwares will give you the opportunity to highlight the direction of faces/normals. However, rather than making a show out of them, or out of yourself for your hasty modelling, they just need to be given a little nudge in the right direction. It’s imperative that all normals be facing the right direction so that the 3D printing software recognises the areas that are internal, between two external edges and thus communicating a solid printable volume (remind yourself of some of the guiding principles of 3D printing).

If Ten Things I Hate About You taught us anything (and it most certainly did), it would be that first impressions do us no favours. With a little bit of patience, encouragement and self-reflection, any file can be made printable.

So, even after the mess you arrived in and our initial opinion of you, we need to own up to the fact that this was a superficial appraisal. We do not in fact hate you. Now we see you. We see the 3D print you could be. We don’t even hate you a little bit, not even at all.

*Annnd cue: slow clap*

giphy.gif
 
Fixing Series: Error No.2 - Bad Edges
 

“Bad Edges, Bad edges, Whatcha gonna do, whatcha gonna do
When they come for you?”

Inspired by Bob Marley

Bad Edges, are next on the list of potential errors that could affect your 3D print. For those not used to the terminology these sound like the types of shady characters your parents warned you about. The kind that would hang around the back of the school smoking cigarettes. If left to their own devices Bad Edges, like true troublemakers, will also lead you down the wrong path.

Fixie 3d printing file fixing bad edges

Bad Edges, as touched upon in our introductory post on model errors are a result of faces or more specifically triangles, not fully ‘knitting’ together. They’re so very close together that the gap between them is potentially not visible to the human eye.

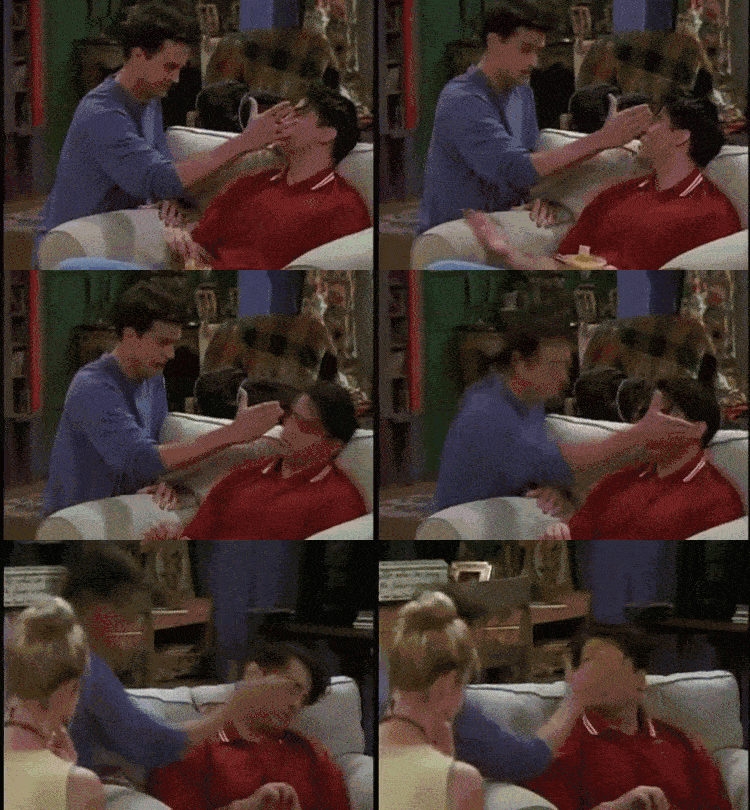
Perhaps worthy of an analogy to drive the point home: Friends Season 3 Episode 2 - “The One Where No One’s Ready”. Chandler places his hand in front of Joey’s face, it’s definitely an invasion of his personal space but crucially it isn’t touching and therefore Joey can’t get mad. In a similar vein edges can be excruciatingly close but if the software doesn’t understand them to be touching then it cannot react in the necessary way.

So close, but not touching.

So close, but not touching.

There are two main causes of Bad Edges, the first is likely to occur during the course of modelling: copying and pasting of parts and multiple iterations can easily lead to elements being microscopically misaligned. Secondly, bad edges can appear during the conversion of models between softwares. Some software may read the same information in a different way: what might work in one modelling programme may not for another - especially when we refer back to one of the key objectives of working with 3D printing software as opposed to building design software: to have a watertight model.

If not dealt with, Bad Edges mean that parts of your model have non-manifold edges (in this instance meaning that edges are connected to less than one face). 3D printing software requires that all edges are manifold: connected to two faces only. In practice, if this rule is followed your model will be watertight and have a thickness throughout (so you don’t need to worry about the terminology, just the process).

Although we often won’t be able to see these bad edges 3D printing software does. It highlights these minuscule gaps and facilitates a clean up process.

We’ll lead you down the right path to 3D printed model perfection, get in touch.

 
Fixing Series: Error No.1 - Holes
 

“There’s a hole in my bucket Dear Liza, Dear Liza”

Harry Belafonte / Odetta Felious Gordon

Indeed, a hole in a model can cause all sorts of problems for 3D printing, but to understand why you will first need to understand some of the main principles of 3D printing and the file format that it uses - STL.

STL is short for Stereolithography, one of the earliest 3D printing technologies. Another definition “Standard Triangle Language” is perhaps more helpful in understanding the format. When a model is converted to STL format all surfaces are converted to a triangulated mesh, or in other words, many surfaces made up solely of triangles.


Fixie 3d printing triangle mesh

Triangles forming a mesh.

Fixie inverted normals 3d printing

Triangles showing their surface directions.

The STL format interprets each triangle as having a back and a front side, or an inside and an outside surface. If the triangles are facing the wrong way they’re known as flipped triangles. All of these need to be oriented in the right direction for 3D printing software to print as planned - it needs to know what is the inside of the model and what is the outside. We do not mean the inside and outside of a building or a room, but rather the inside and outside surface of a wall or other object that will be printed. This introduces us to another inherent characteristic of 3D printing - elements must have a thickness.

FIXIE 3D PRINTING SECTION

A helpful way to think about this is when you look at the section of a building. The thick lines of a wall or floor outline the volume that will be printed. The external edges of the walls face the open/void space of a room or the exterior of the model and the inside is the edge of the solid printed volume. (We explain more on basic file preparation of your model in an earlier post).

Each triangle should be facing the right way in the model mesh. Each should be knitted together (aka no gaps between them) and on a similar note there should be no holes or missing triangles.

Fixie 3d printing file fixing gaps & bad edges

Triangles not correctly stitched together, opening up gaps in the mesh. The broken edges this error leaves are called ‘bad edges’.

Fixie 3d printing file fixing holes

Large openings exposing the interior of the mesh. A hole also leaves bad edges as inevitably there will be edges not stitched together.

All of this relates to the fact that, to be printable, a model must be ‘watertight’. Take as an example your favourite mug (we also ‘Fix’ a lot of cups of tea and coffee at Chez Fixie)! The mug is undoubtedly watertight and has a good thickness to it. If the mug were an STL file all of the surface (inside and outside of the mug) would be covered with triangles showing their outside surface only. All would be correctly stitched together, with no missing triangles. If the mug were made up of no thickness, just a single face accounting for the interior and exterior of a mug then you’d quickly spill your tea.


To be printable:

  • A model must be solid

  • A model must have a thickness

Therefore, it must not have:

  • Gaps

  • Holes

  • Undefined or unreadable surfaces.

I think that’s enough for today, but we’ll soon share detailed information about holes and other issues and what they mean for your model. Generally, it’s not pretty!

Please get in touch directly with any related queries - fixers@fixie3d.com