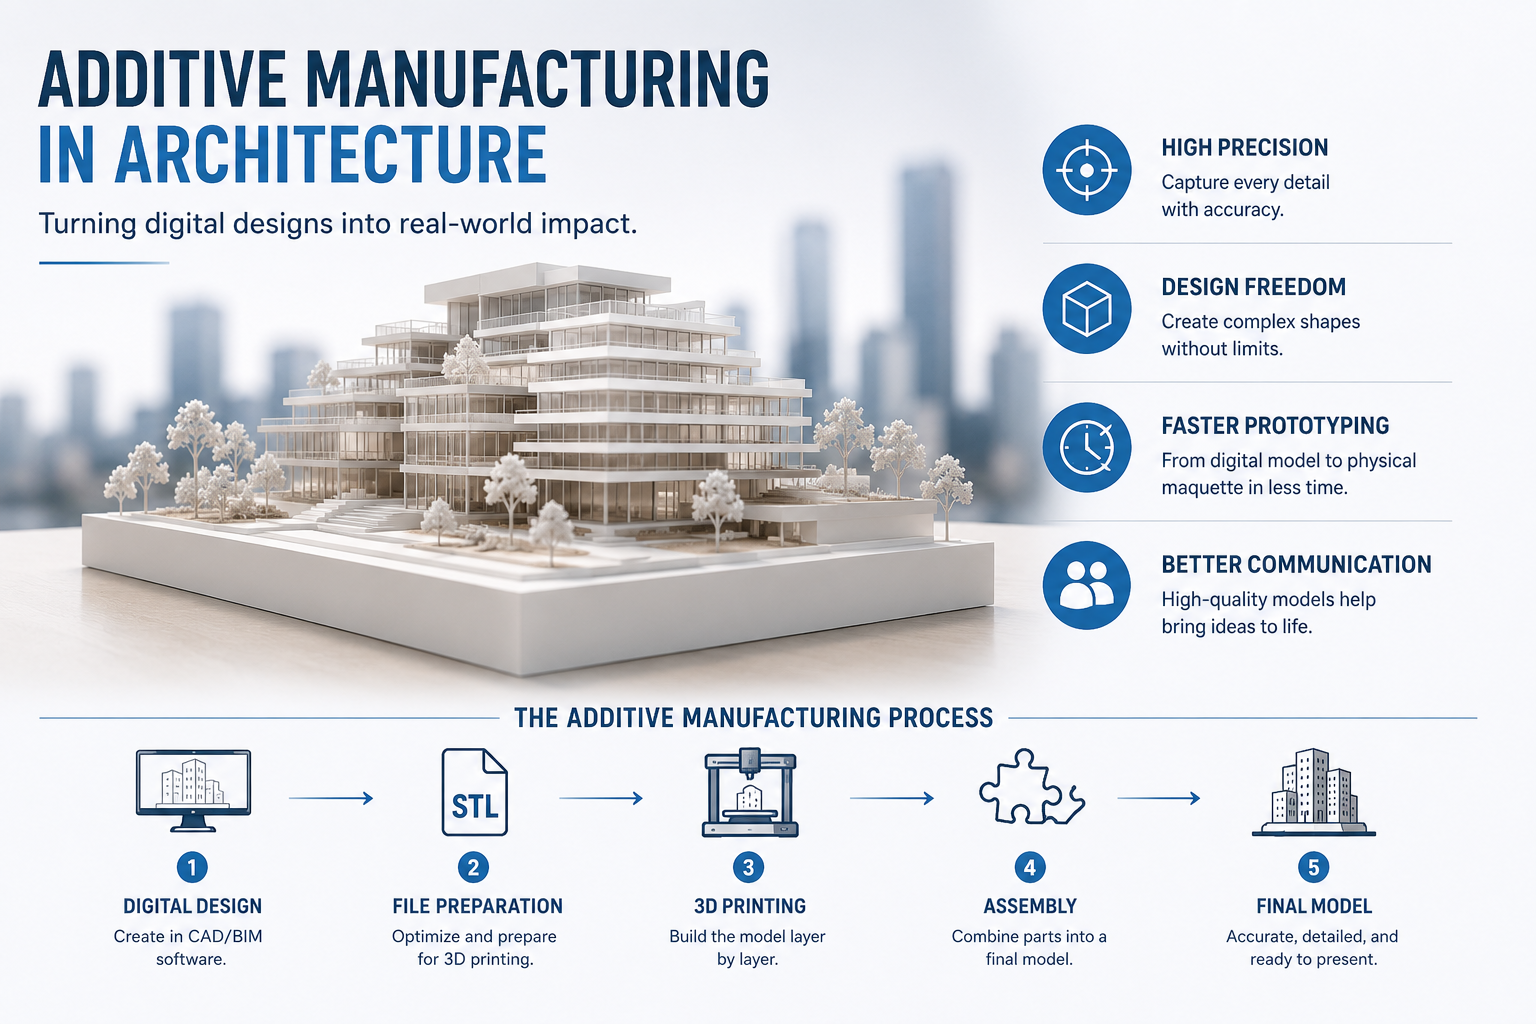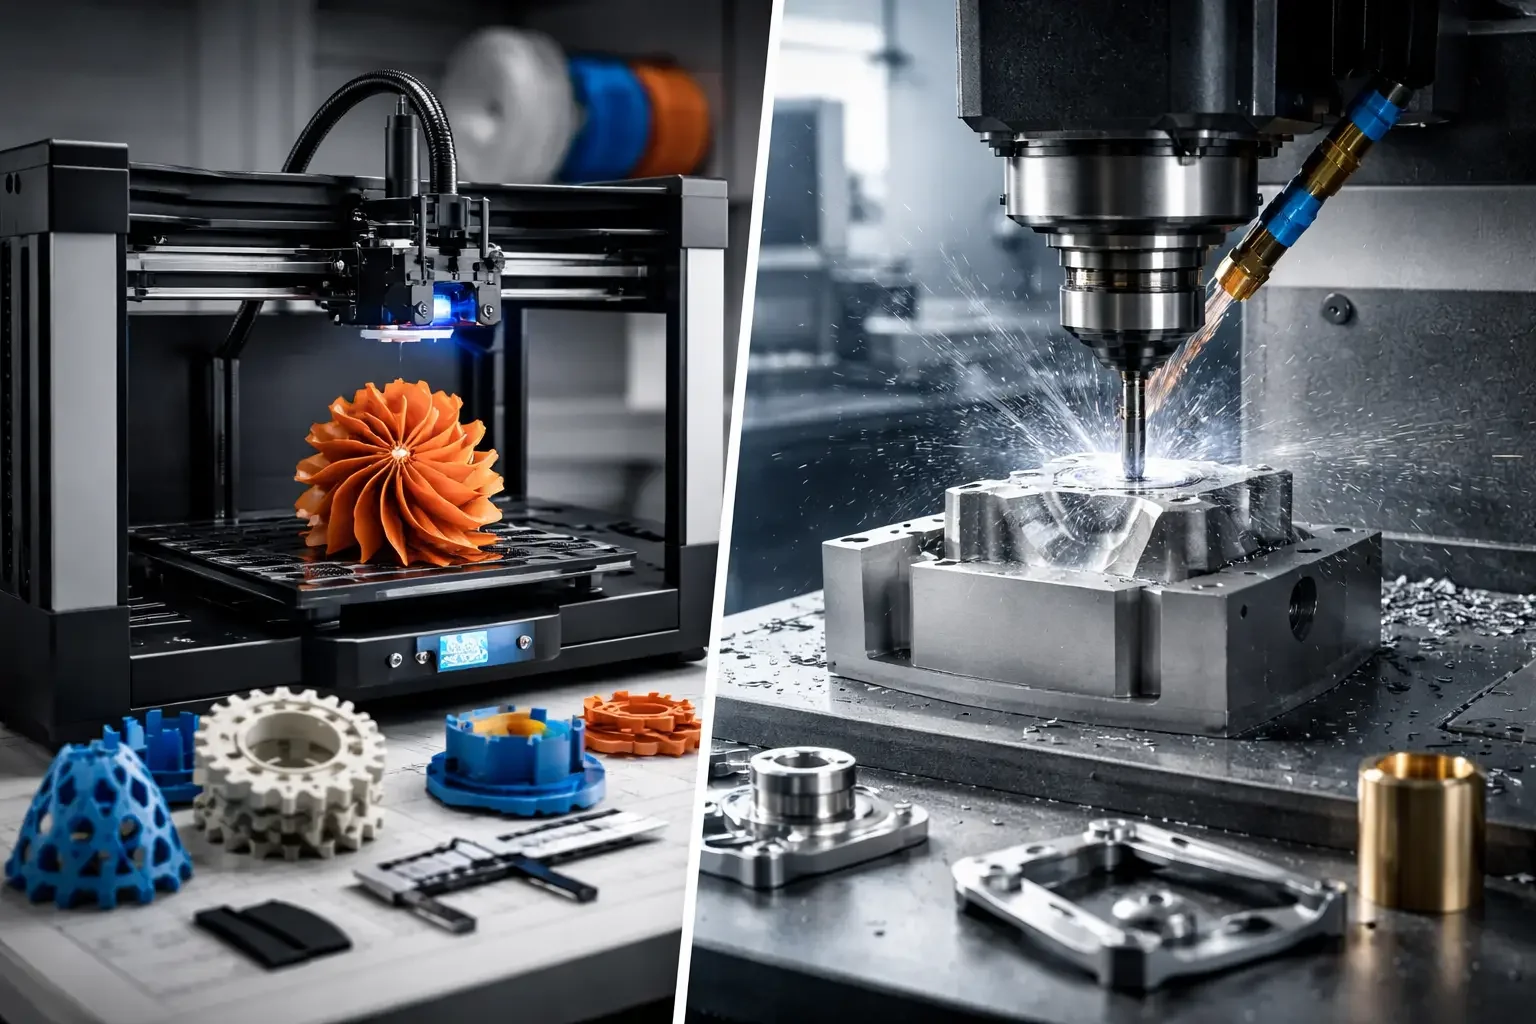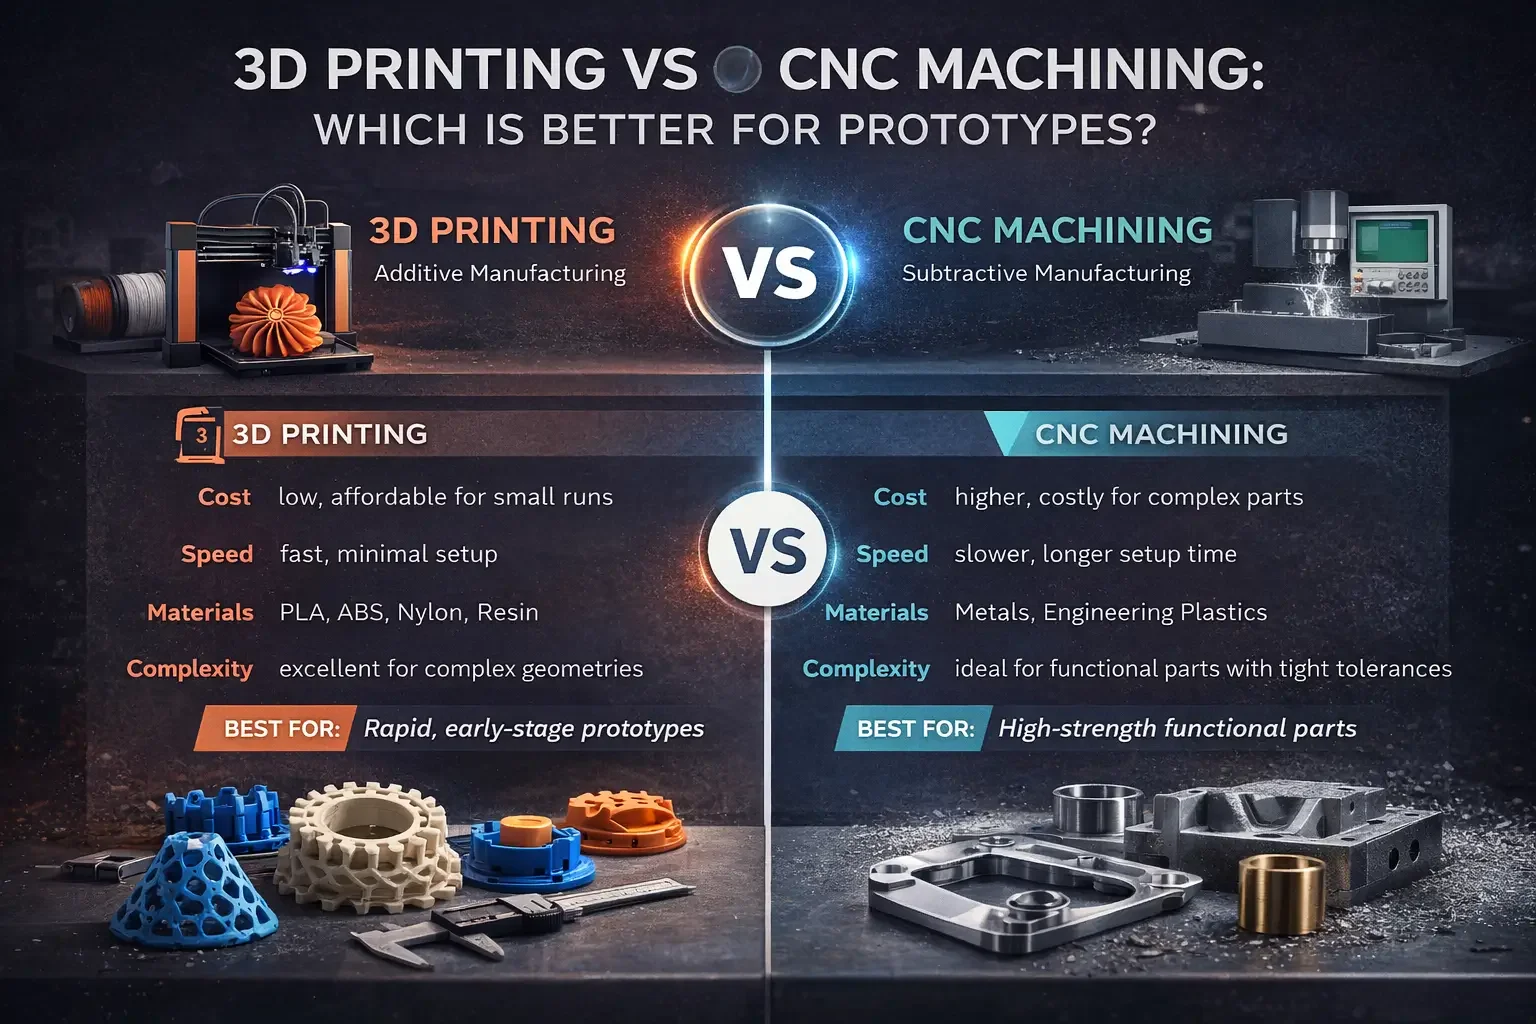
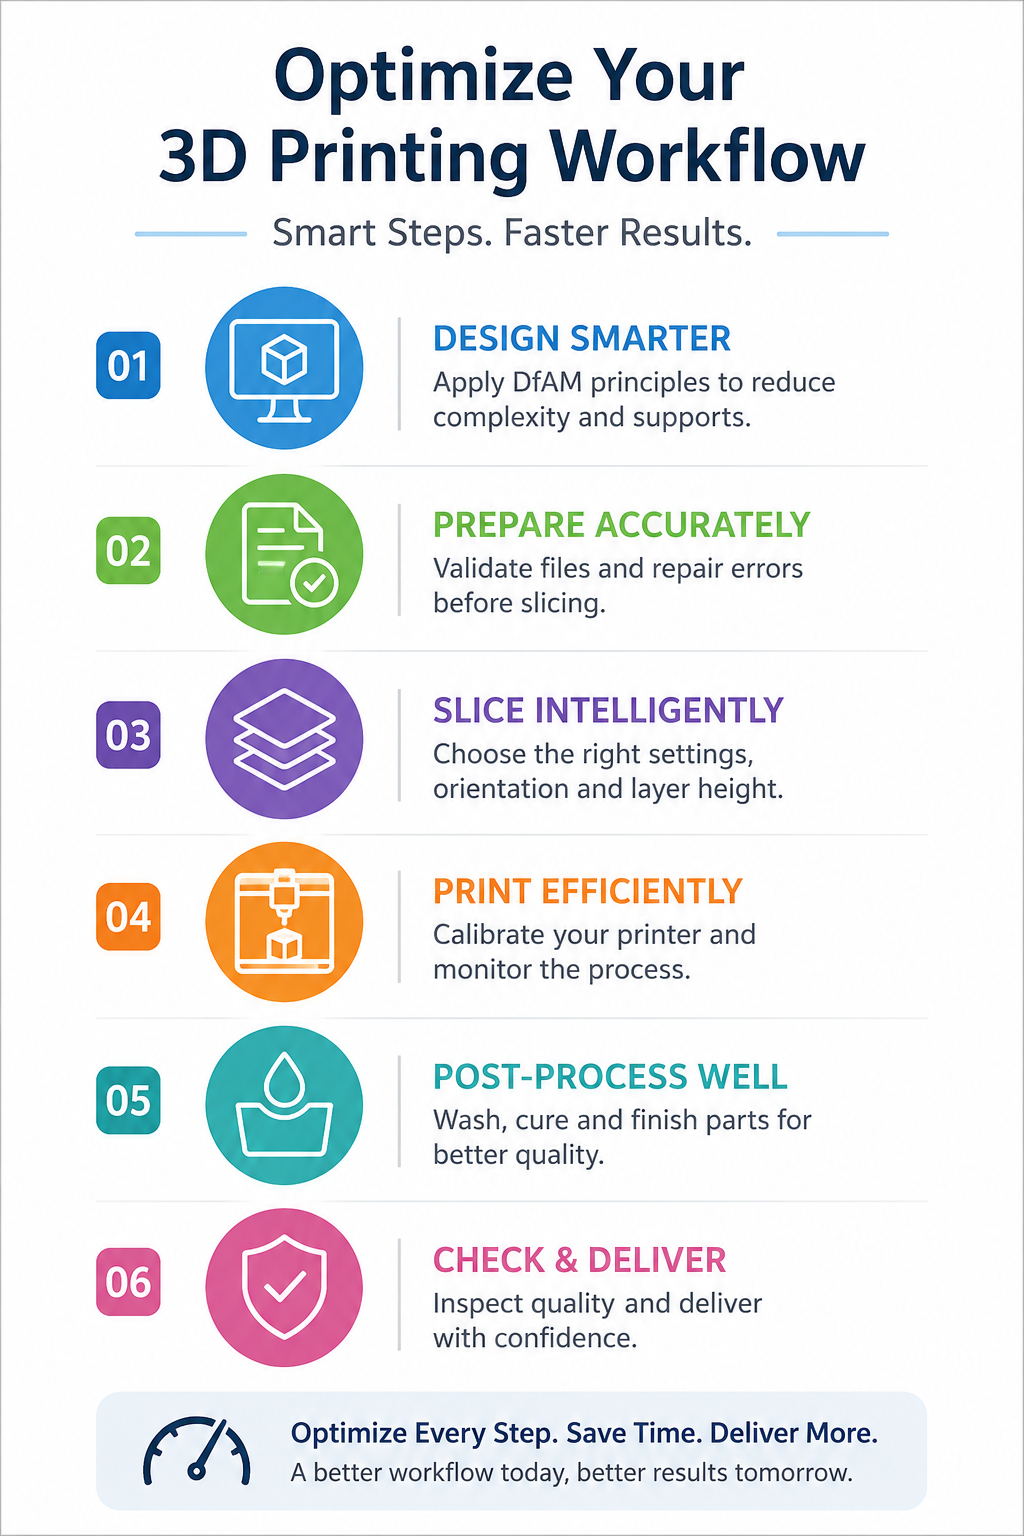
Introduction: Why Workflow Optimization Matters More Than Print Speed
In professional 3D printing, faster results rarely come from simply increasing machine speeds.
Whether you're an architect preparing a planning submission, a product designer developing a prototype, or a model maker working against a client deadline, the biggest delays often occur before the printer even starts. Poor file preparation, excessive support structures, inefficient orientation, and time-consuming post-processing can add days to a project timeline.
Over the past 15 years, additive manufacturing has evolved from a prototyping tool into a production-ready technology used across architecture, engineering, healthcare, and manufacturing. Along the way, one lesson has remained consistent: the most efficient workflows focus on reducing waste, preventing failures, and optimizing every stage of production.
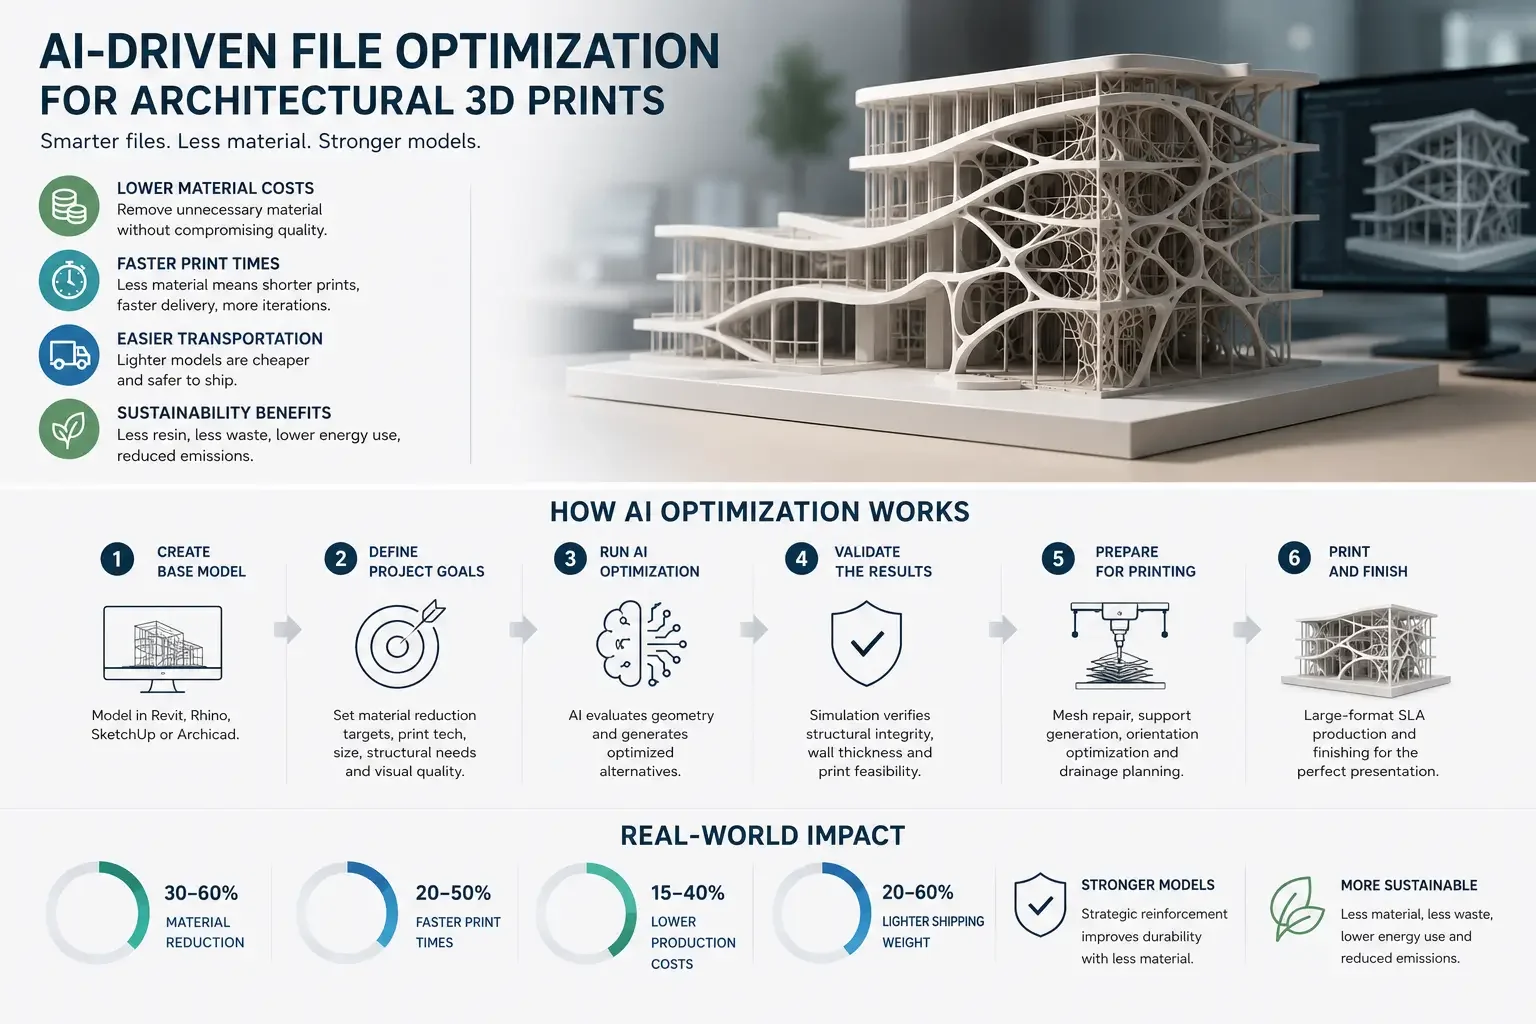
Industry leaders such as Form labs and Stratasys consistently highlight Design for Additive Manufacturing (DfAM), workflow automation, and intelligent print preparation as the biggest drivers of productivity improvements. Research into topology optimization and generative design has also shown material reductions of 20–60% in suitable applications, delivering both speed and sustainability benefits.
At Fixie 3D, we've seen this firsthand. Many architectural projects arrive with excellent design intent but files that are not fully optimized for additive manufacturing. In our experience, file preparation issues—not printer speed—are responsible for a significant percentage of production delays. Spending an extra 20 minutes optimizing orientation and support placement can often save several hours of finishing work later.
This guide explores practical strategies to optimize your entire 3D printing workflow—from CAD design and slicing through post-processing and quality control—while examining the latest innovations shaping additive manufacturing in 2026.
Understanding the 3D Printing Workflow and Its Biggest Bottlenecks
A professional additive manufacturing workflow typically consists of:
CAD Design
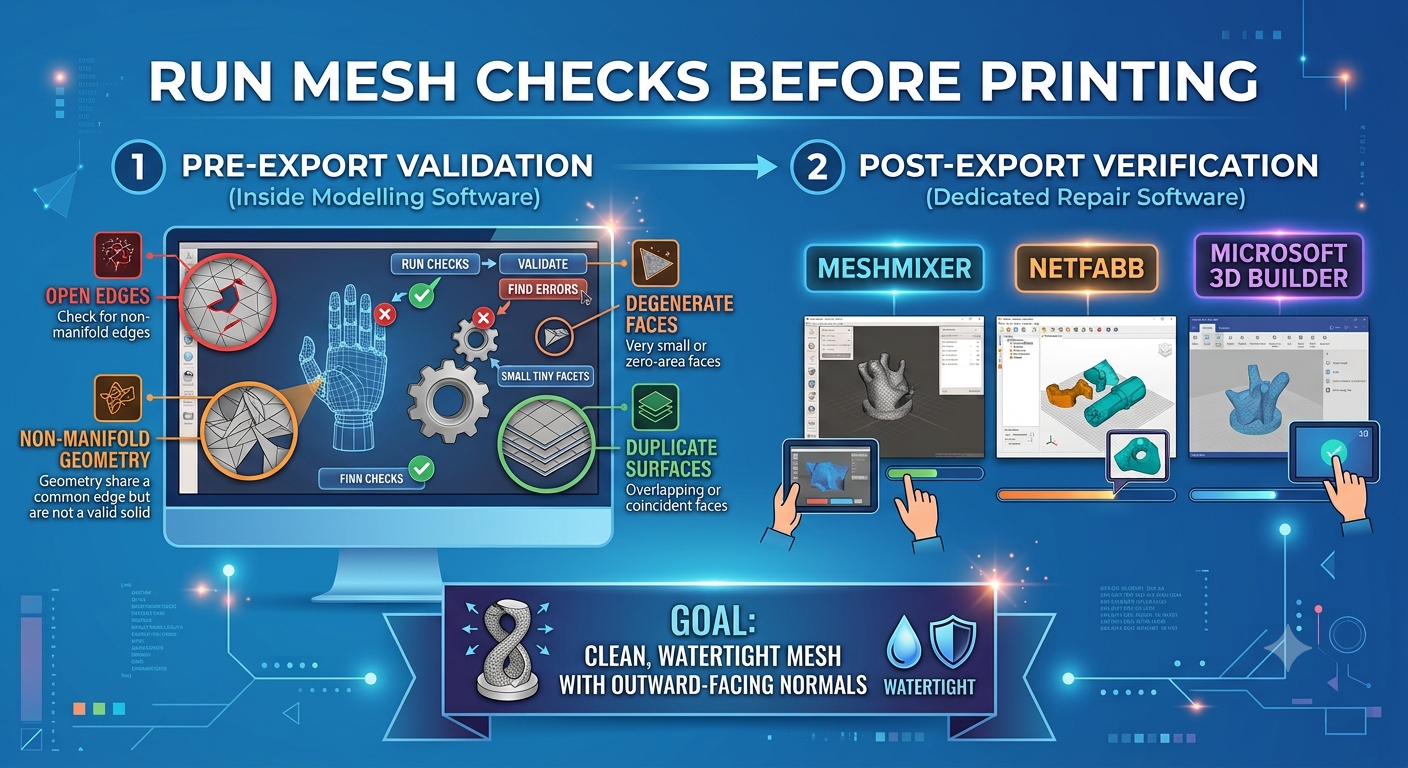
File Validation & Repair
Slicing & Print Preparation
Printing
Washing & Curing
Surface Finishing
Assembly
Quality Control
Delivery
Many teams focus heavily on printing speeds while overlooking hidden inefficiencies elsewhere.
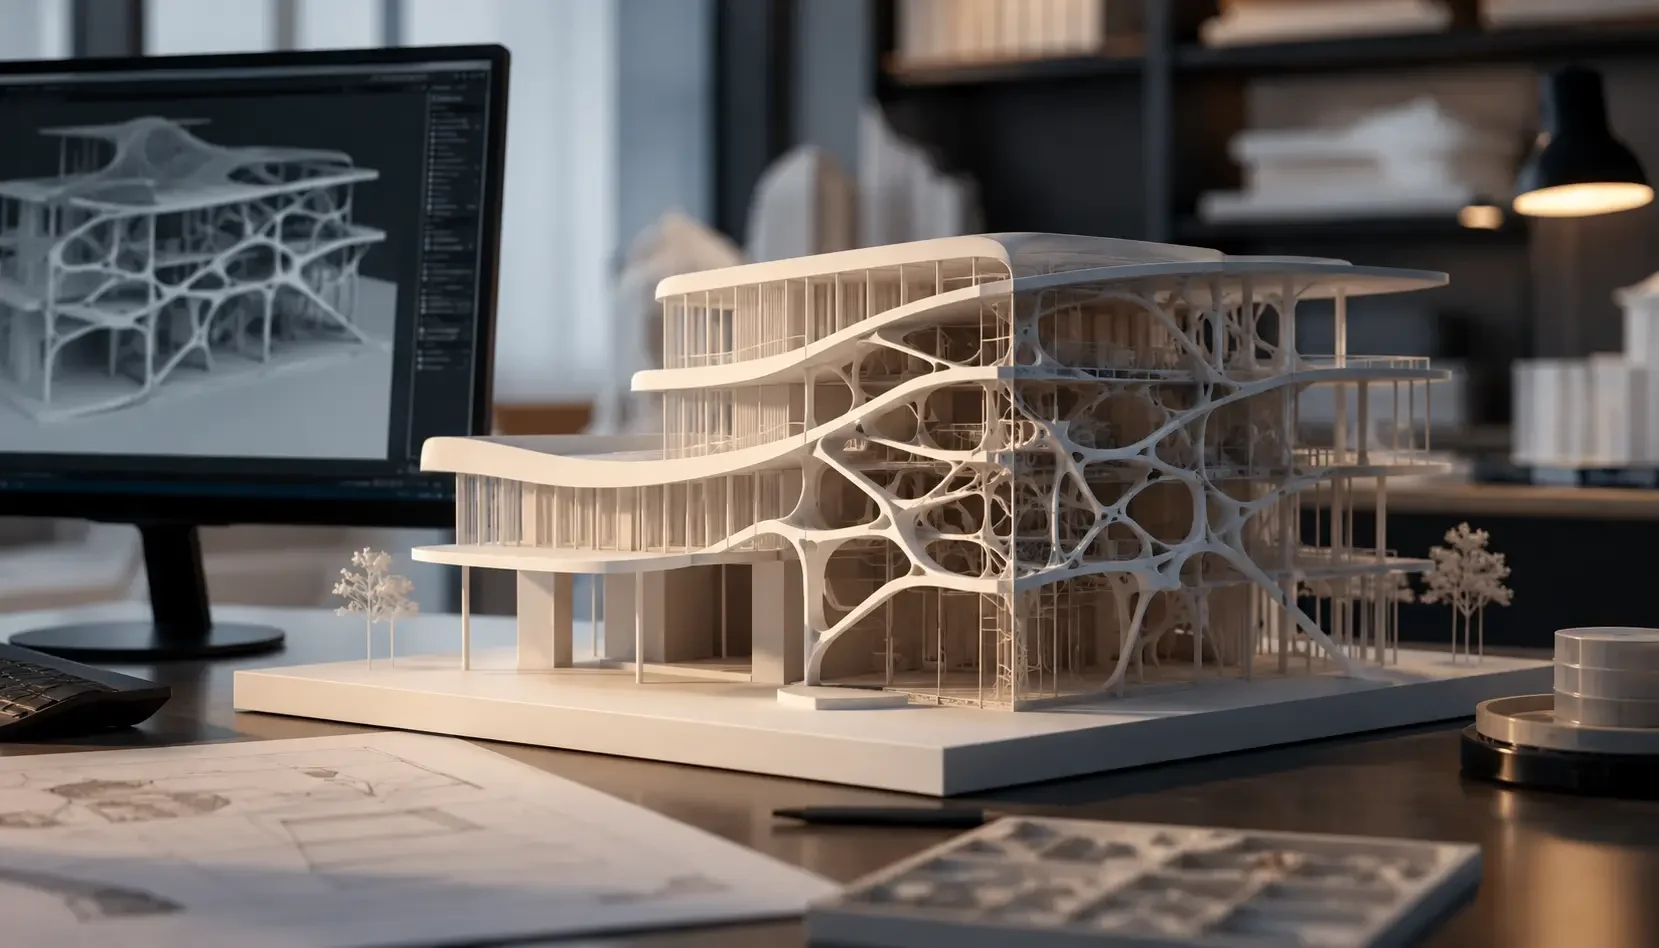
Design Optimization: Applying DfAM Principles Early
Design for Additive Manufacturing (DfAM)
DfAM involves designing specifically for additive manufacturing rather than adapting traditional manufacturing methods.
Key DfAM strategies include:
Part consolidation
Lattice structures
Topology optimization
Support reduction
Weight minimization
Assembly simplification
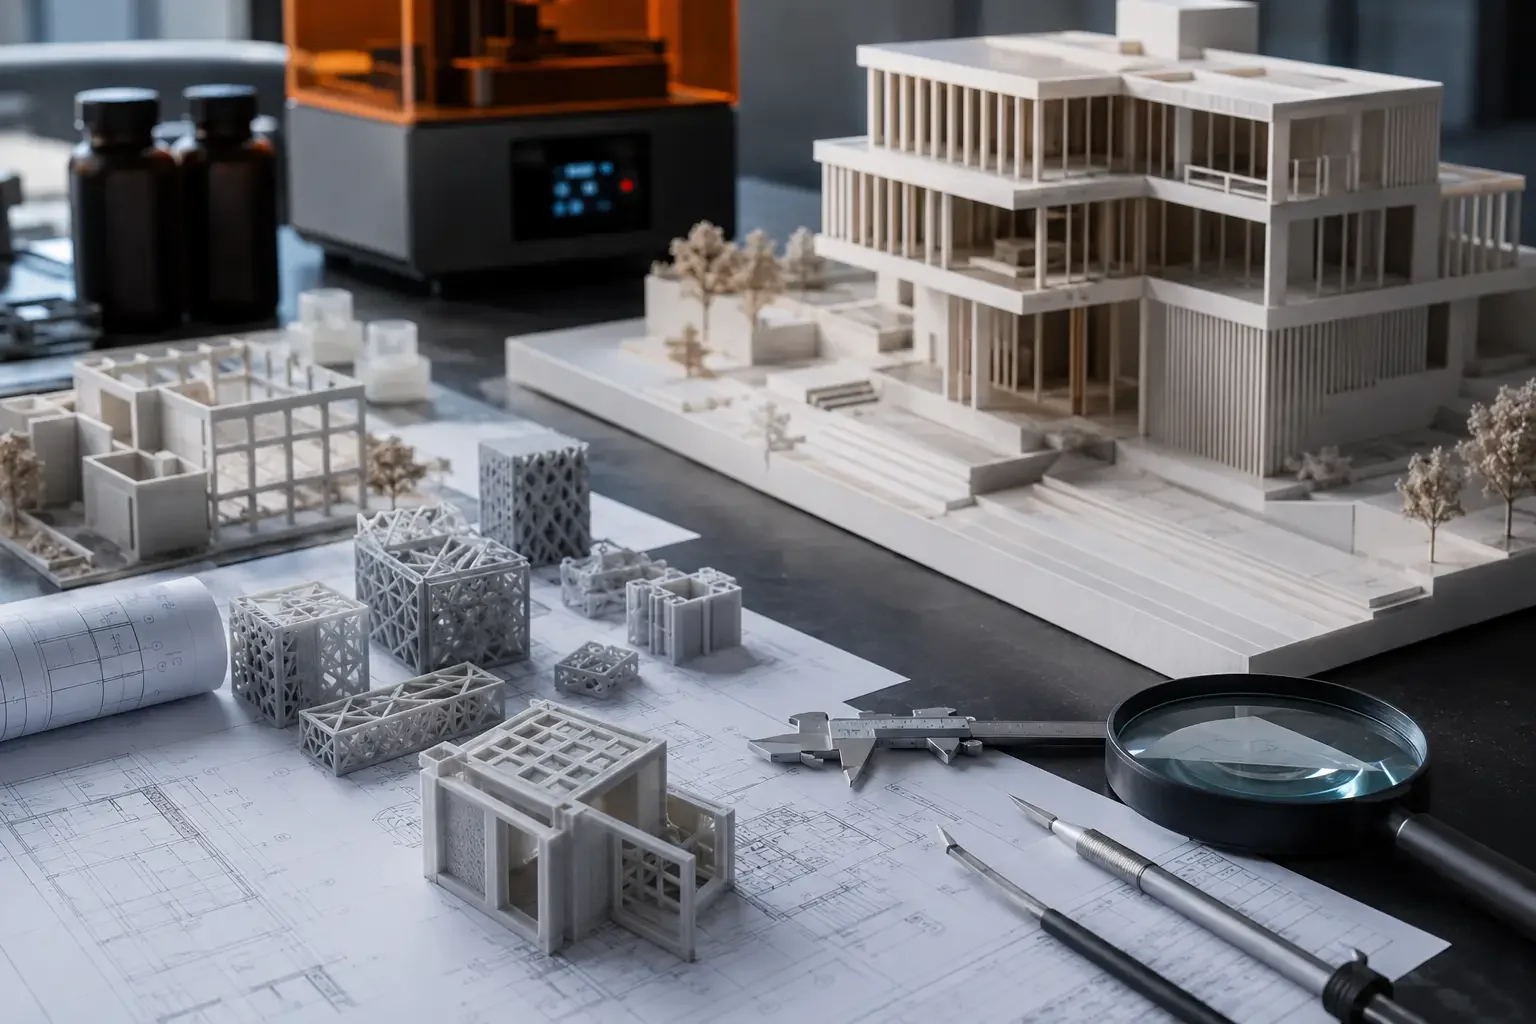
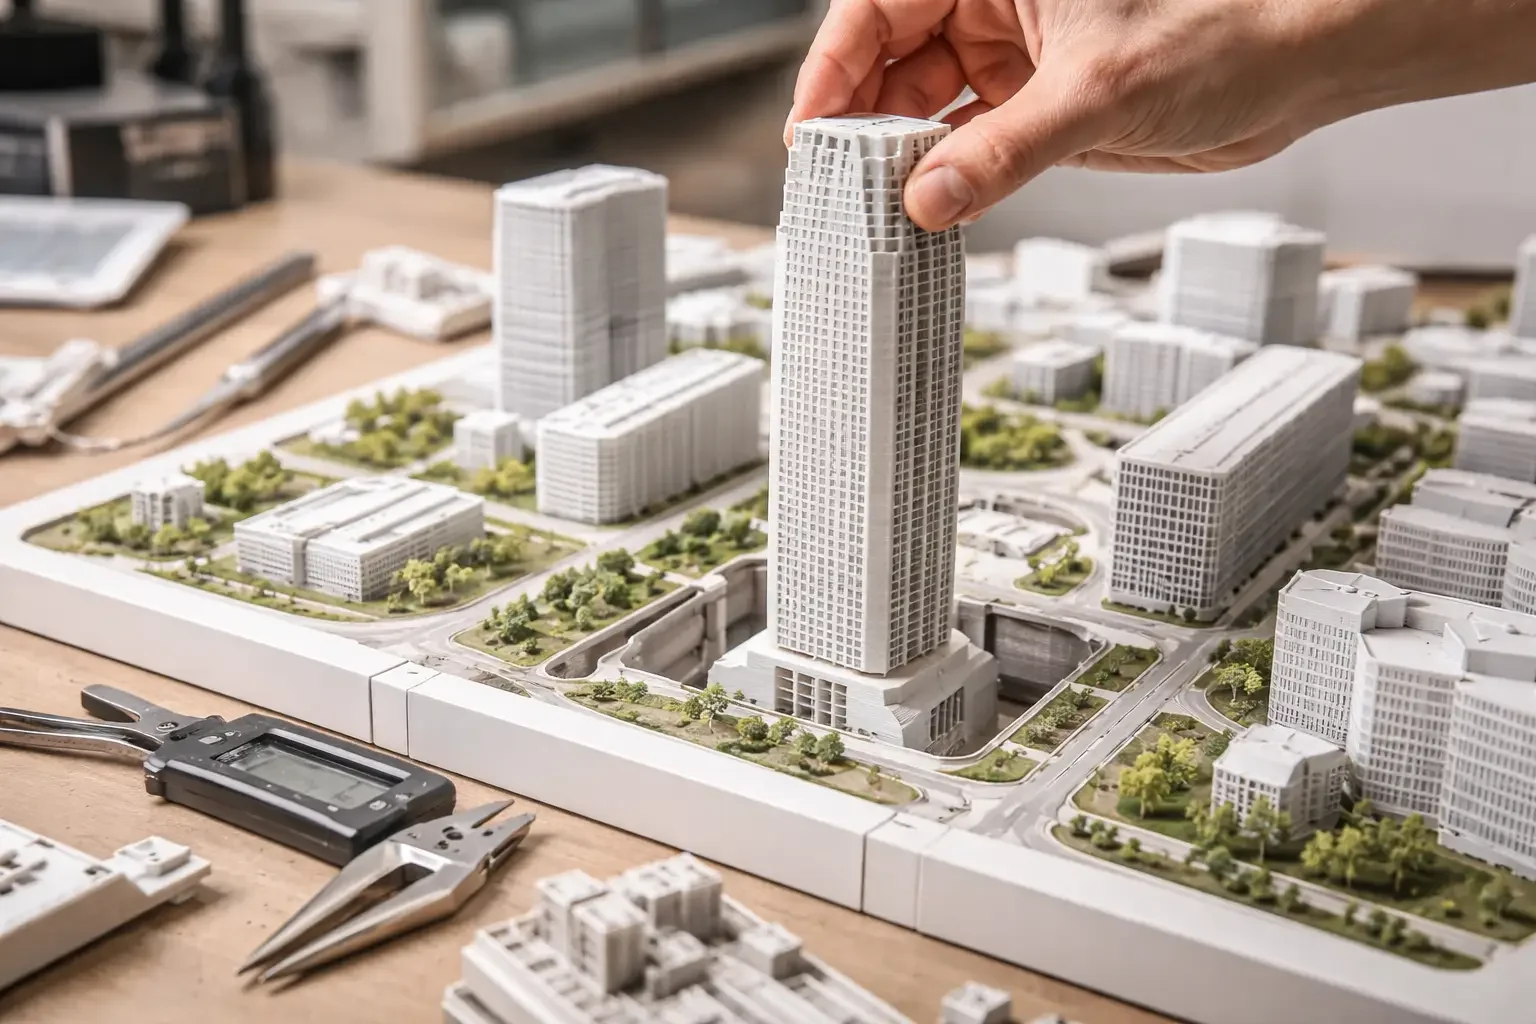
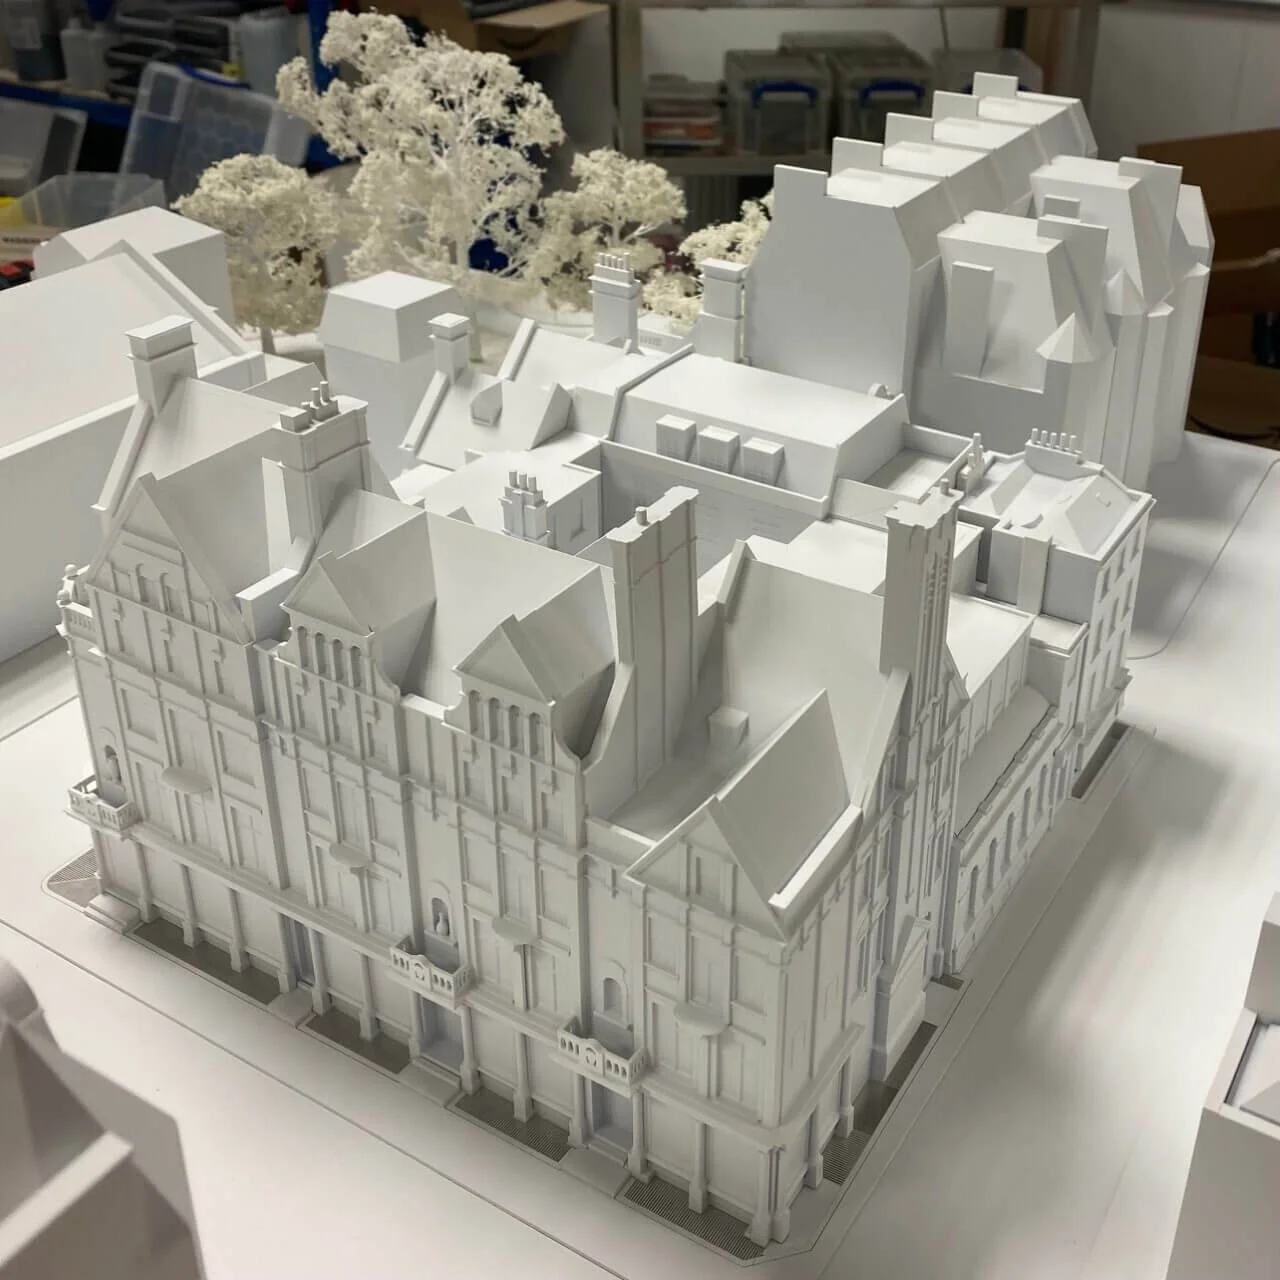
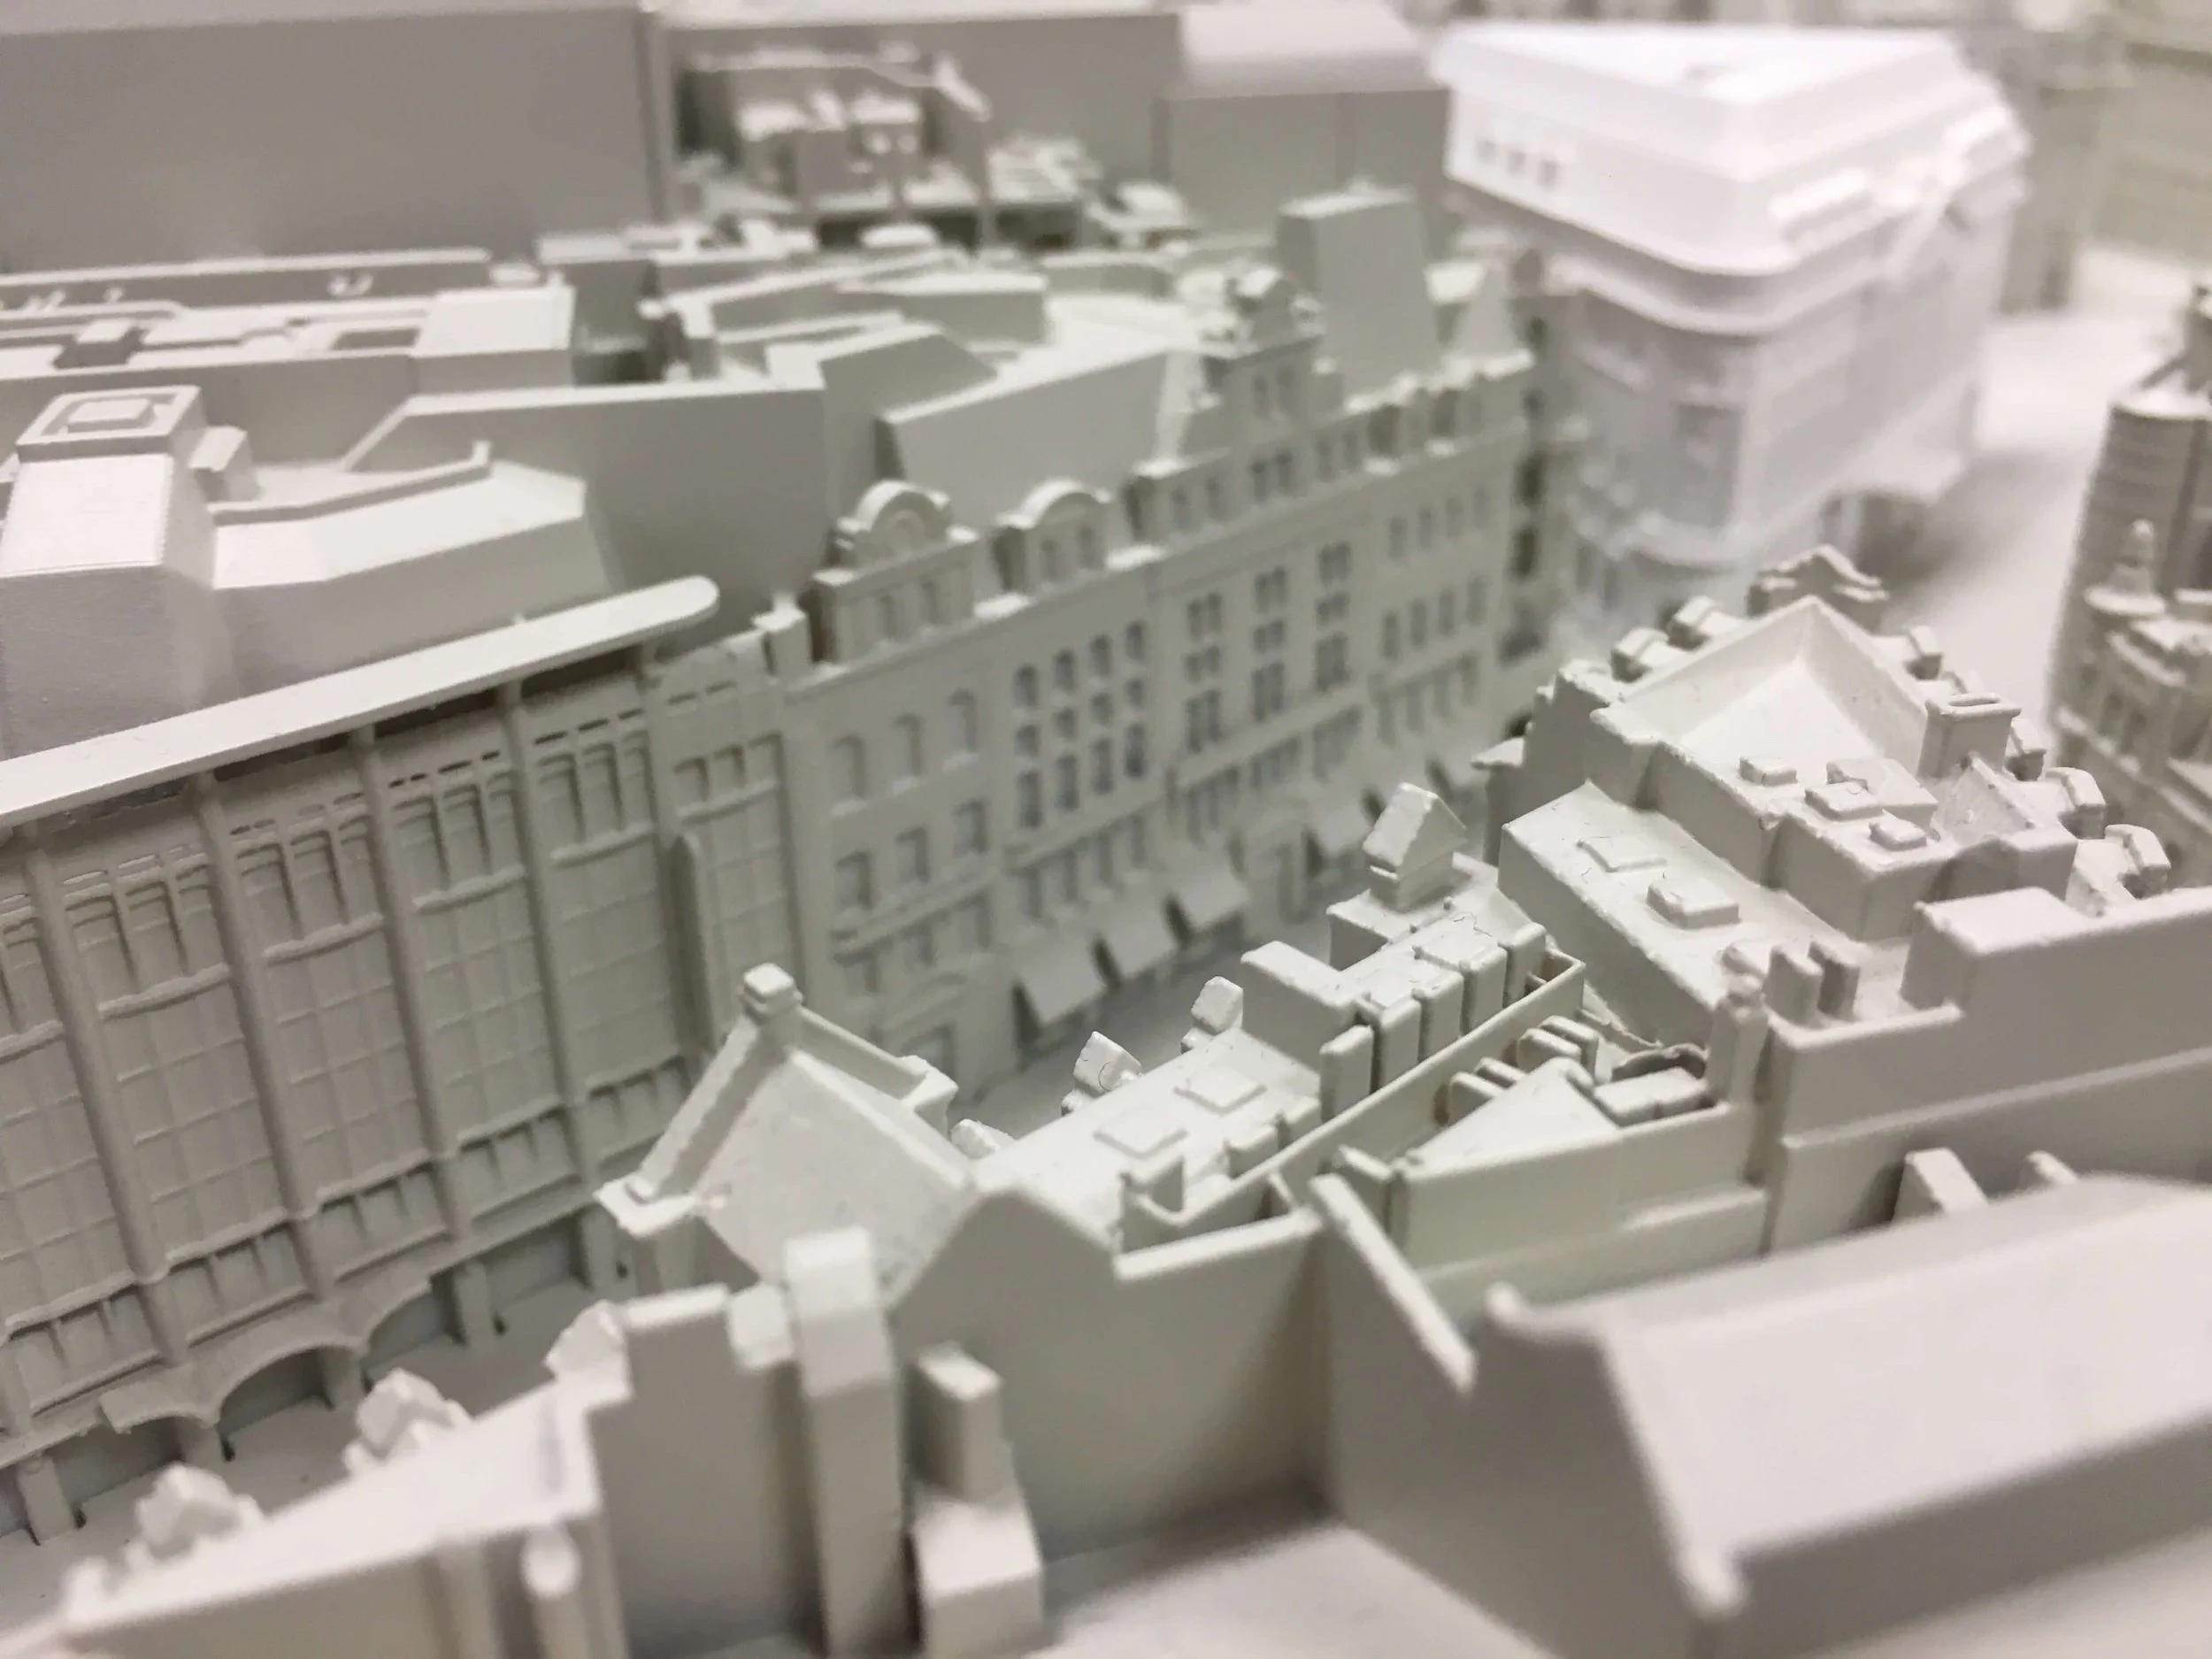
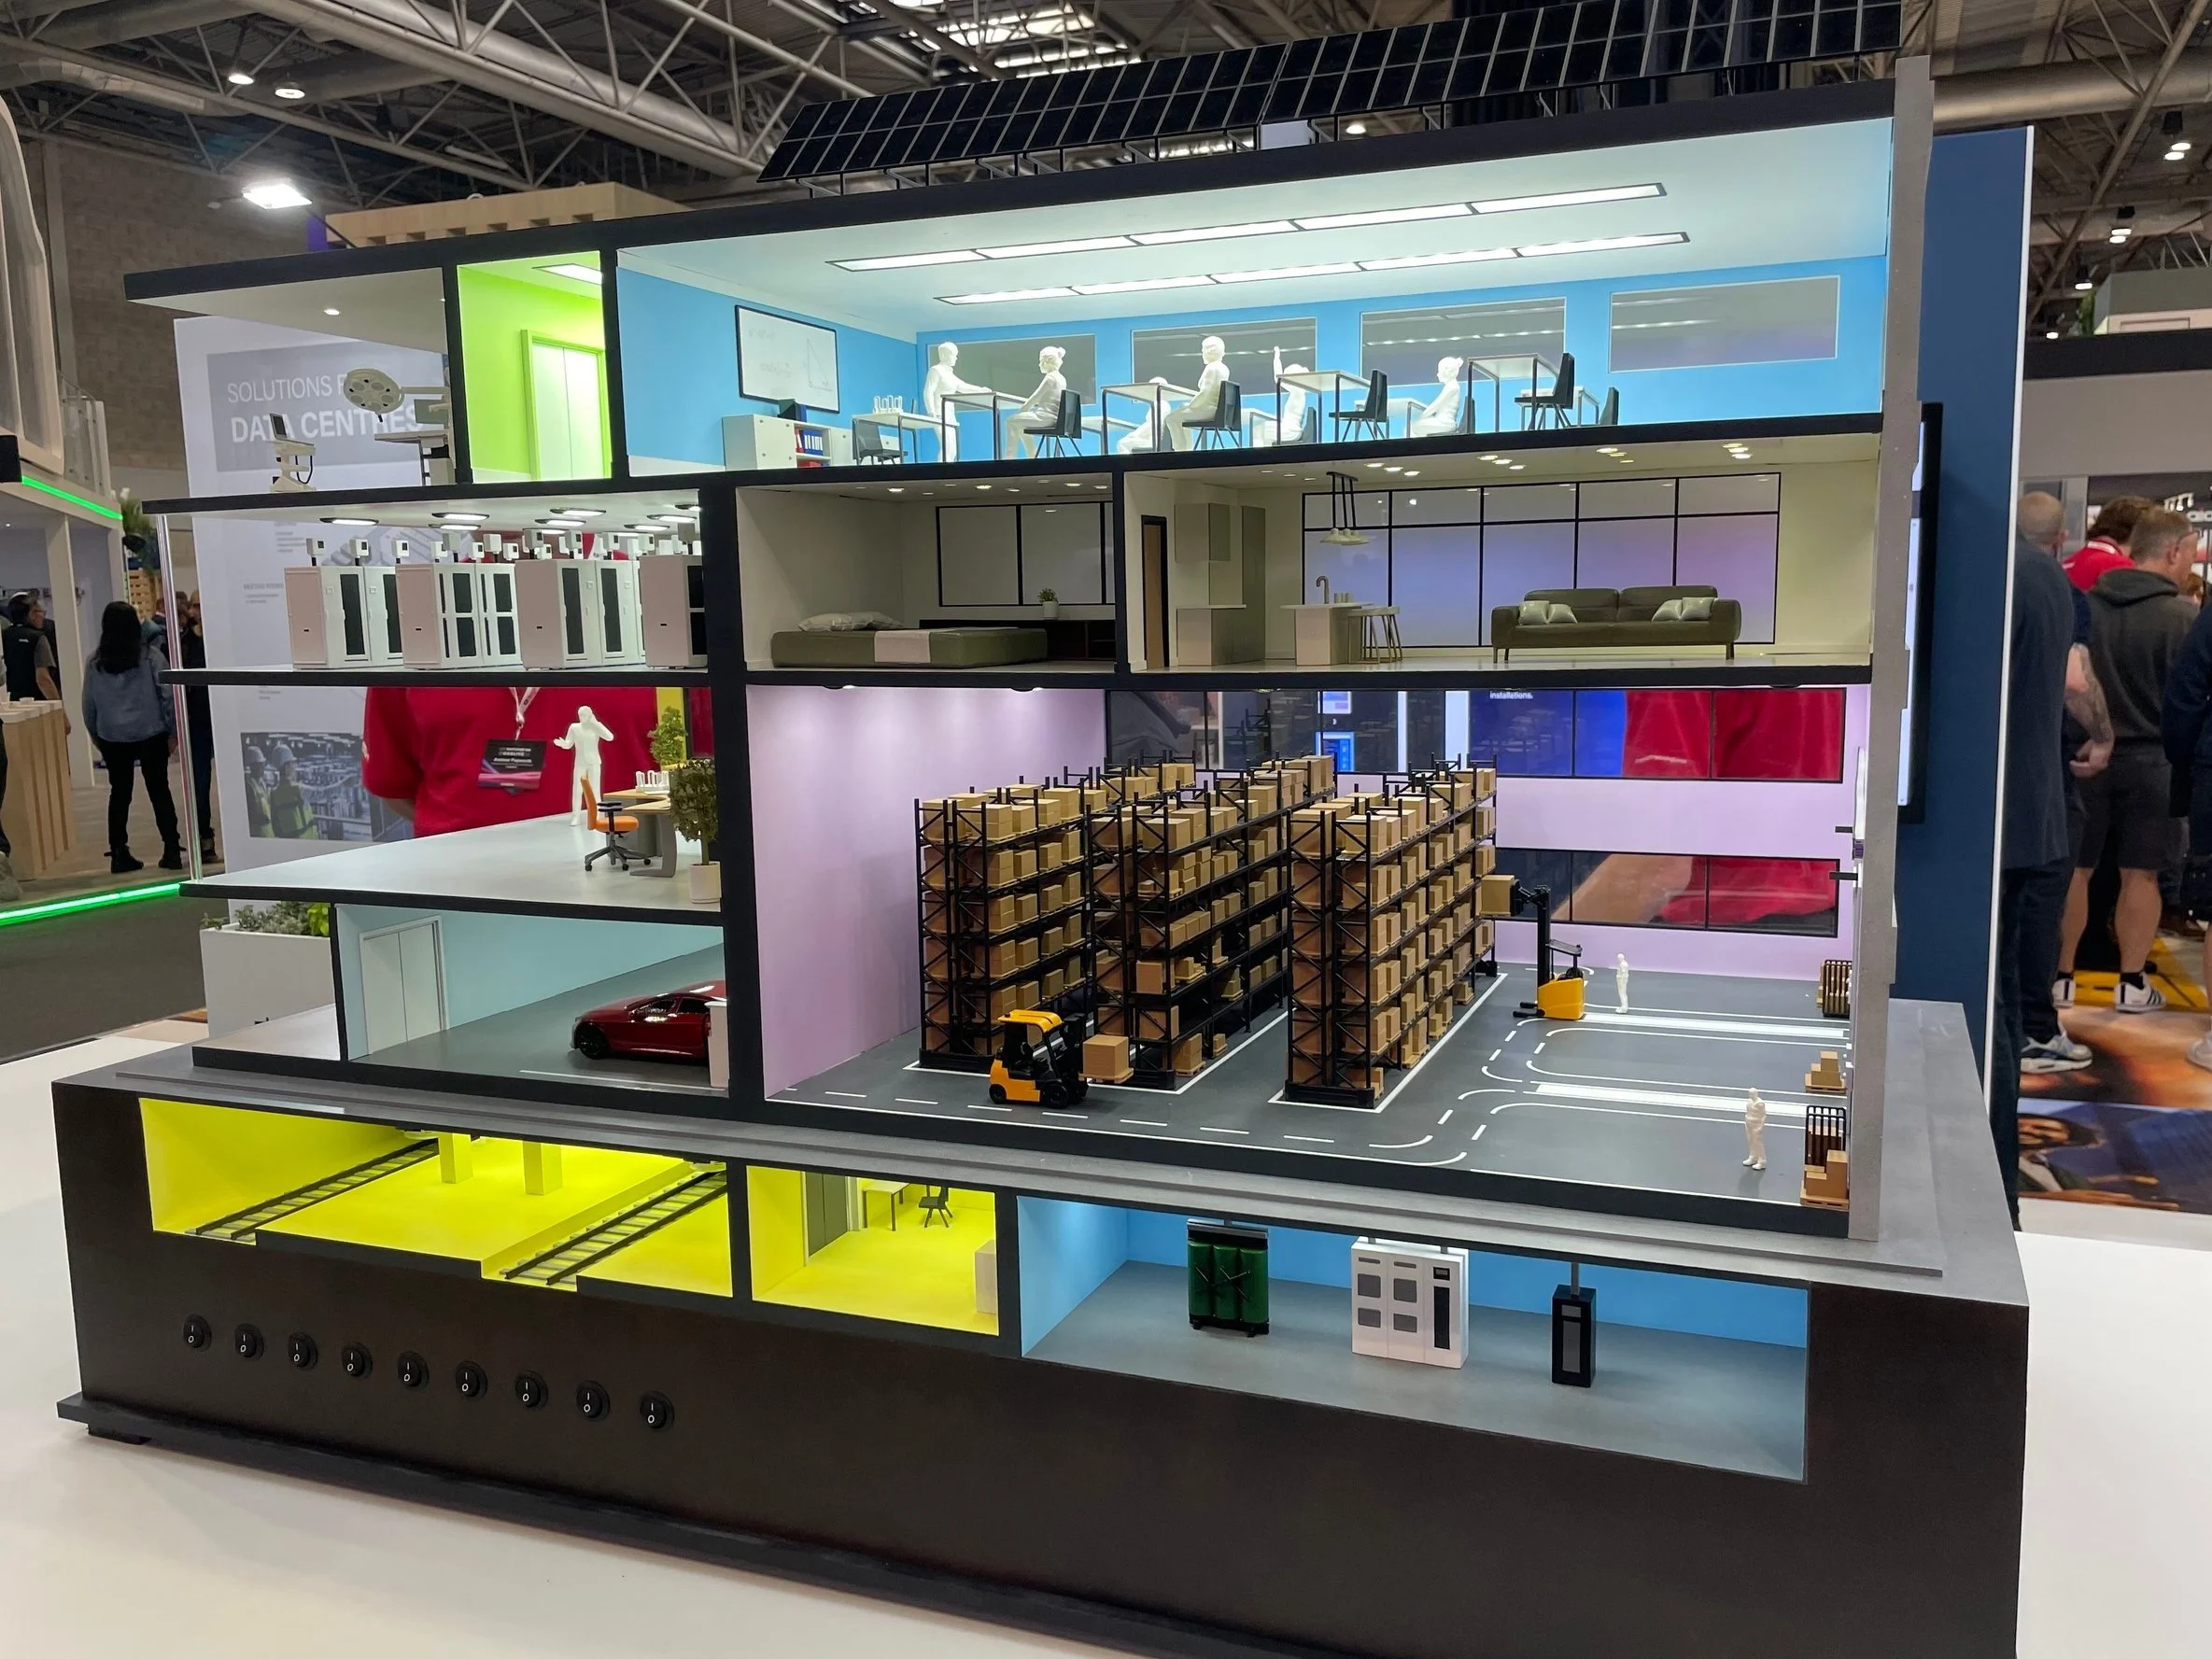
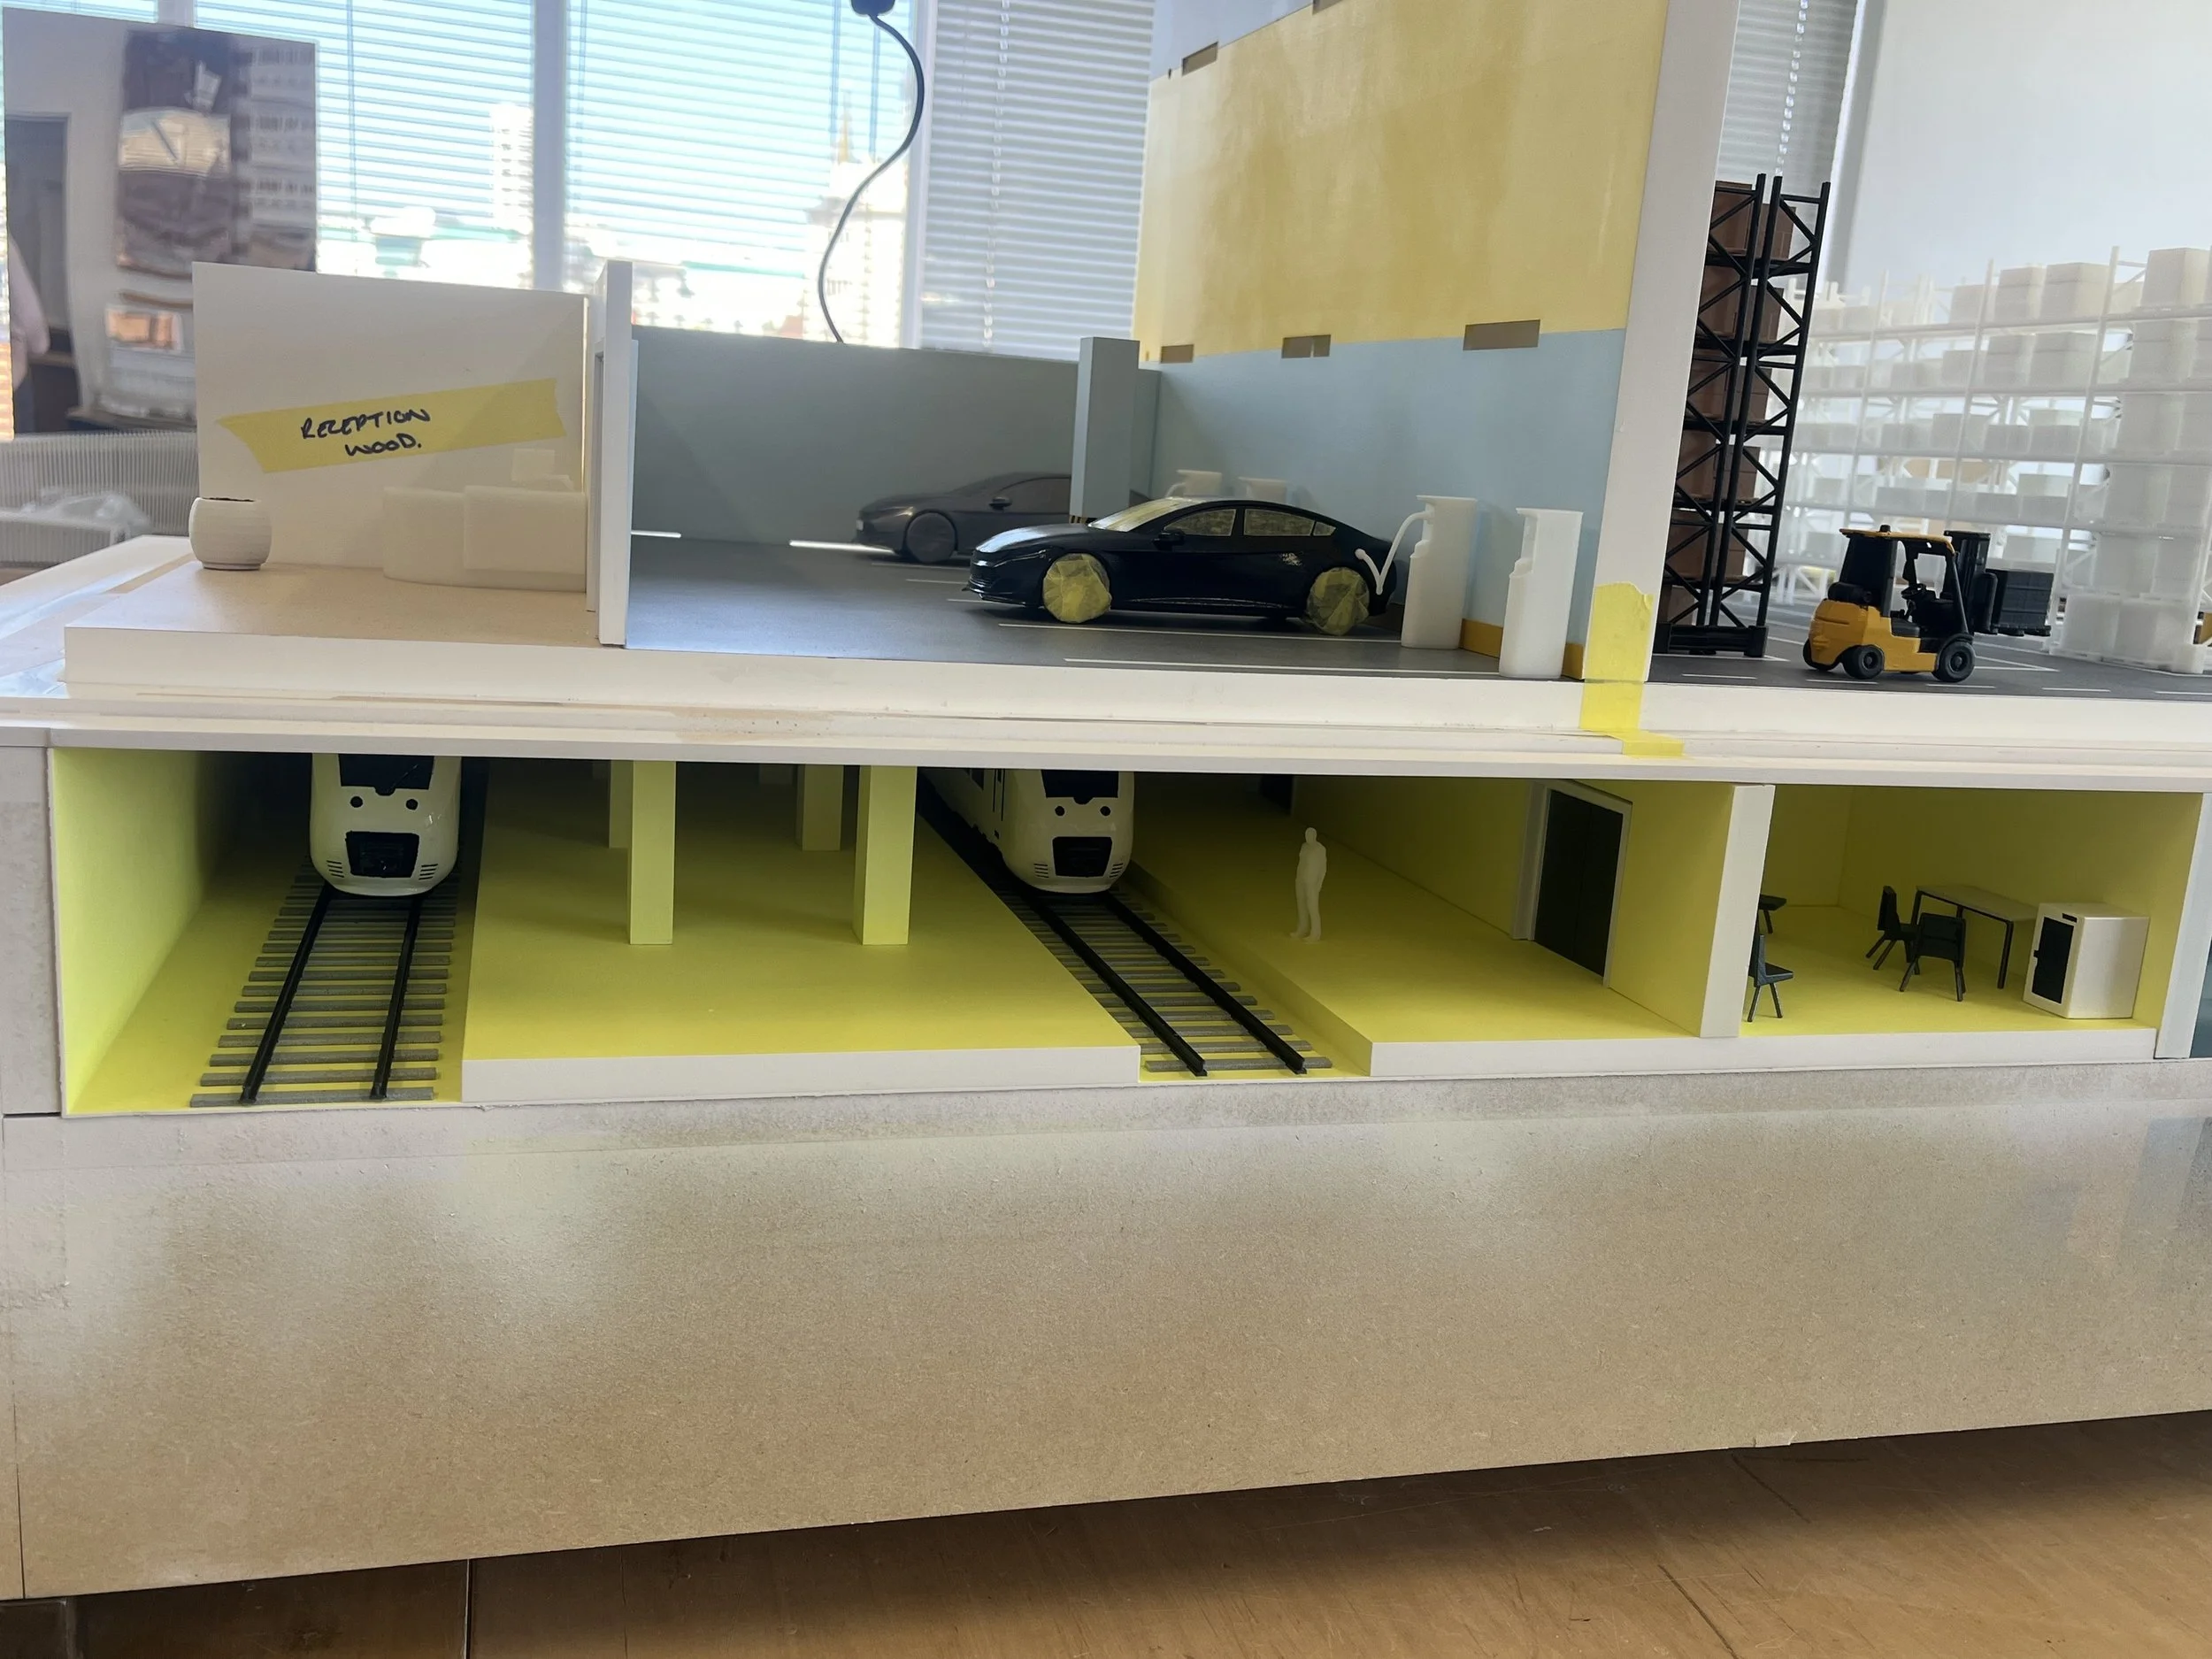
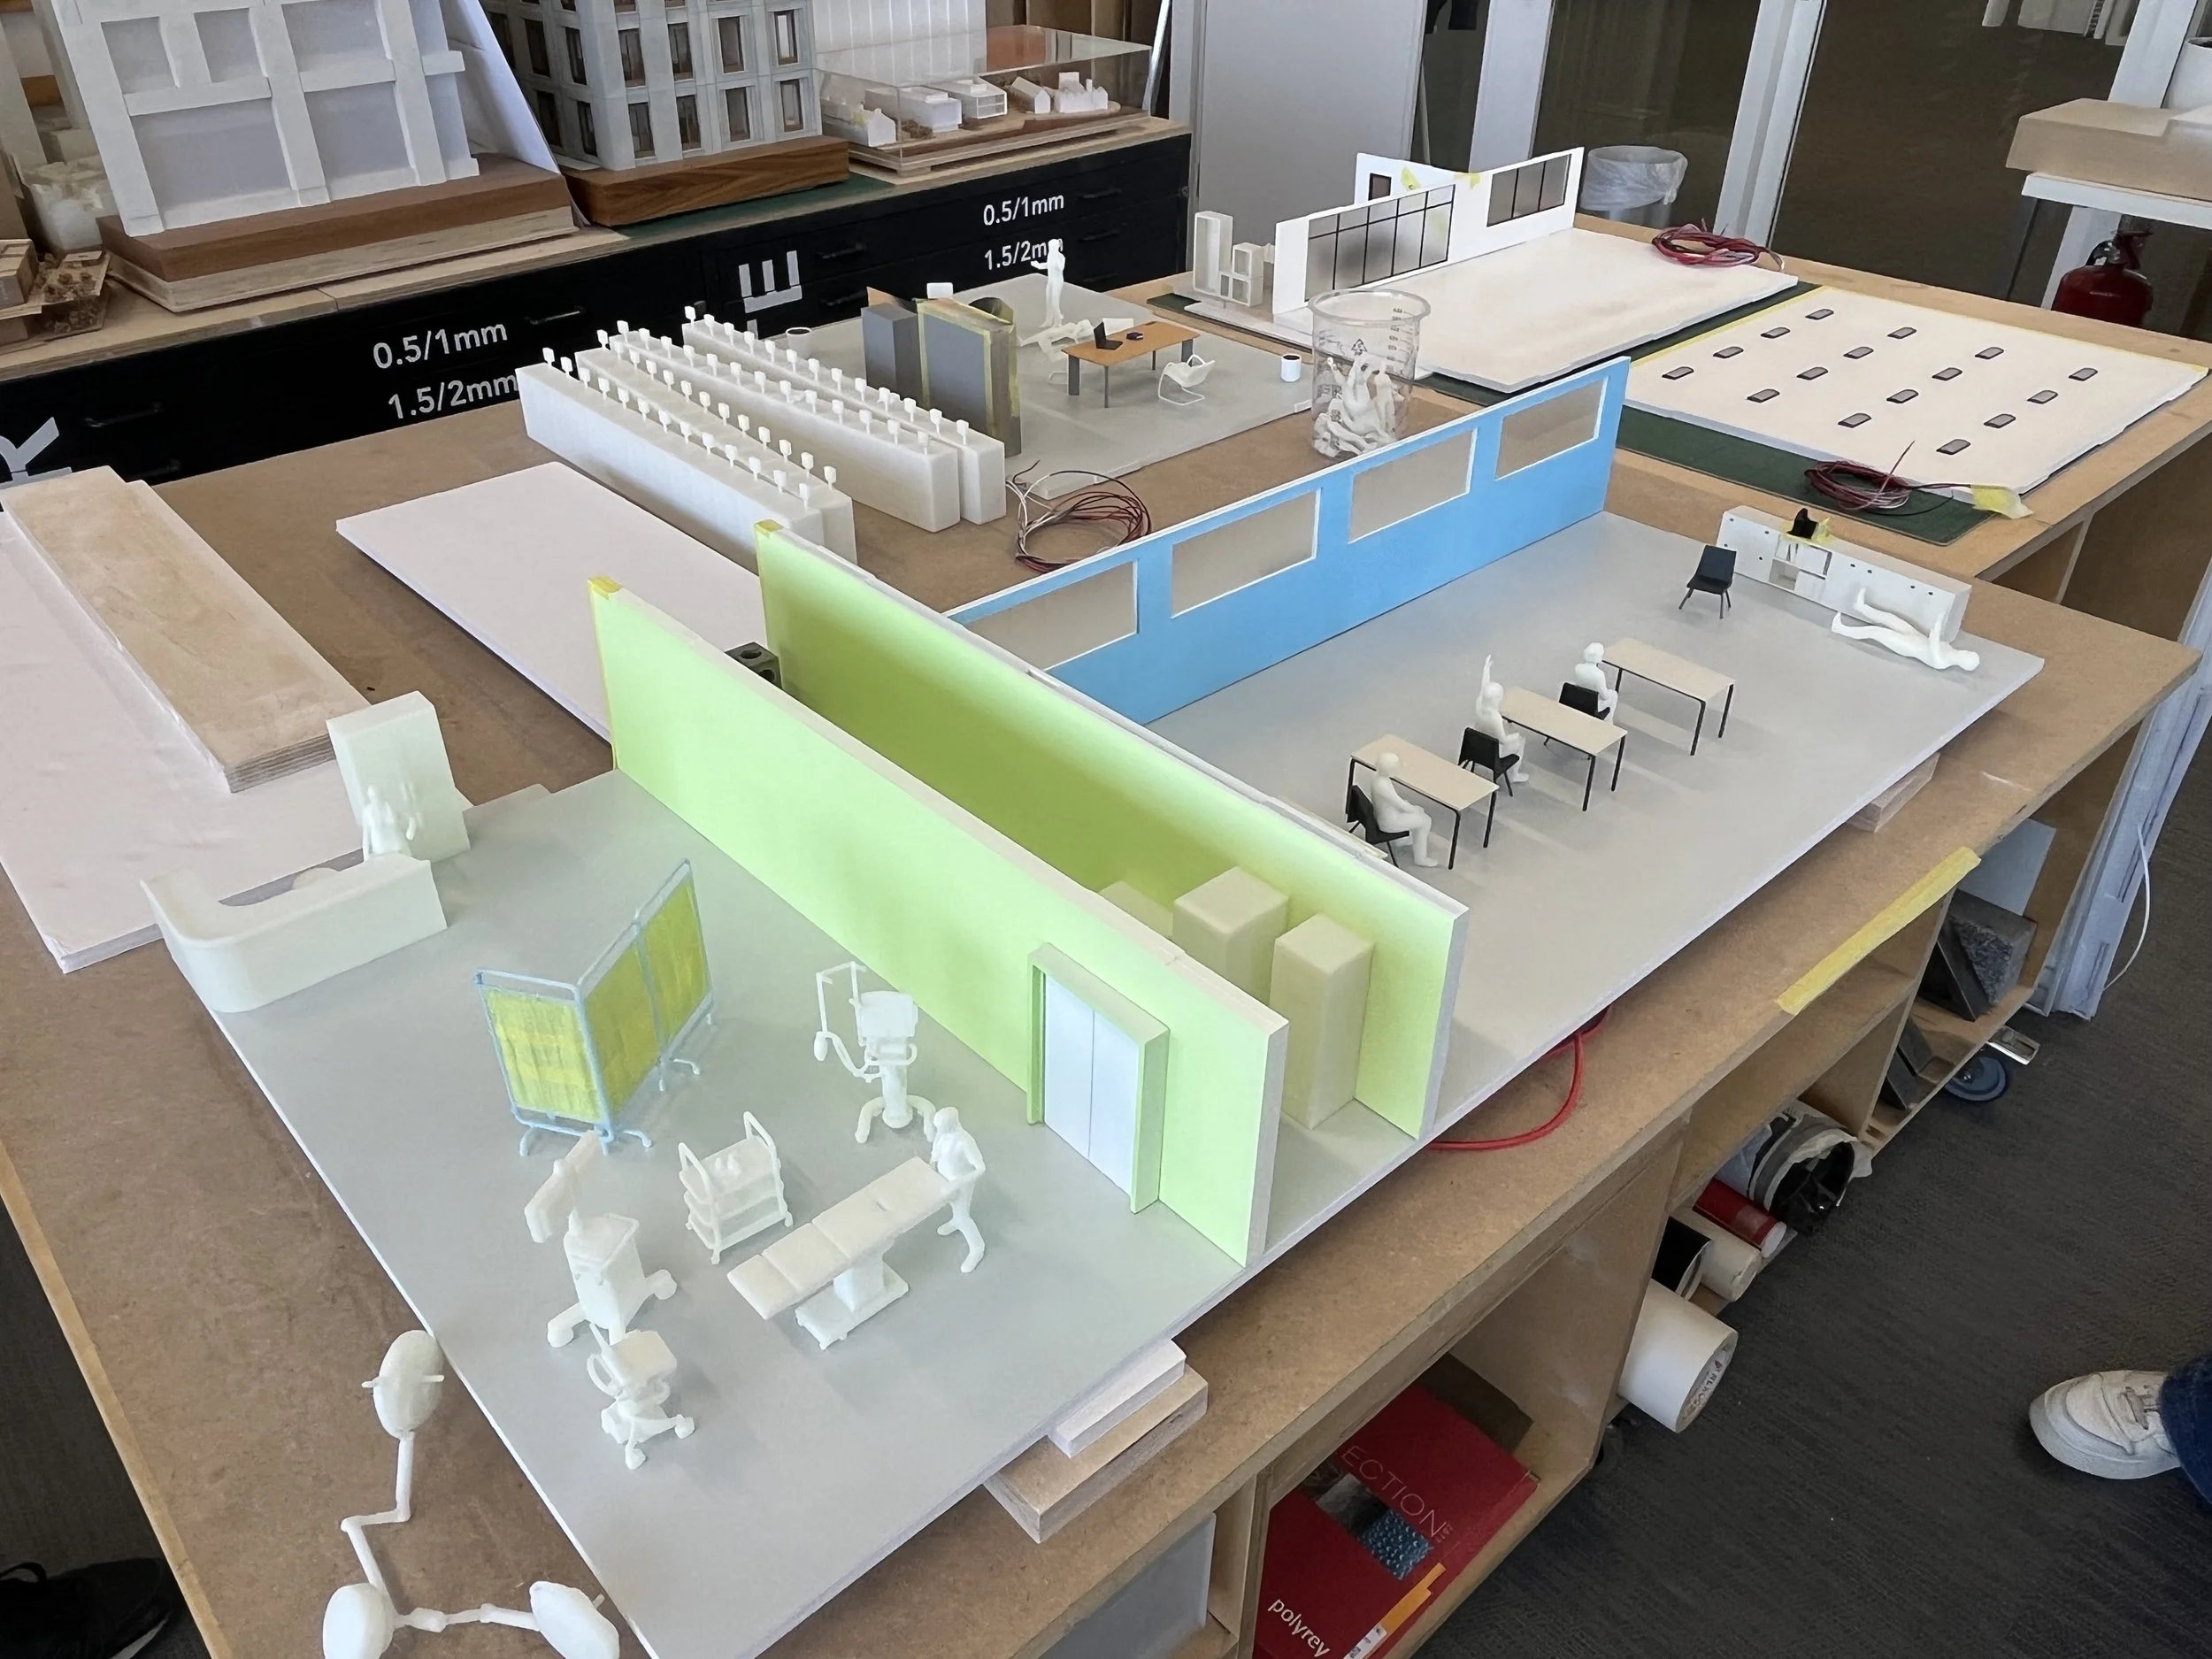
For architectural model making, consolidating multiple building elements into fewer printable assemblies can significantly reduce production and assembly times.
Follow the 45° Rule
One of the simplest ways to reduce supports is designing surfaces that exceed a 45° angle.
Benefits include:
Less support material
Faster print times
Better surface quality
Reduced post-processing
This principle is particularly useful for façade details, landscape models, and conceptual massing studies.
Use Generative Design and Topology Optimization
AI-powered design tools are becoming mainstream.
Benefits include:
20–60% material savings
Reduced print duration
Lower material costs
Improved structural performance
Modern CAD platforms increasingly integrate generative design algorithms that automatically create lightweight yet strong geometries.
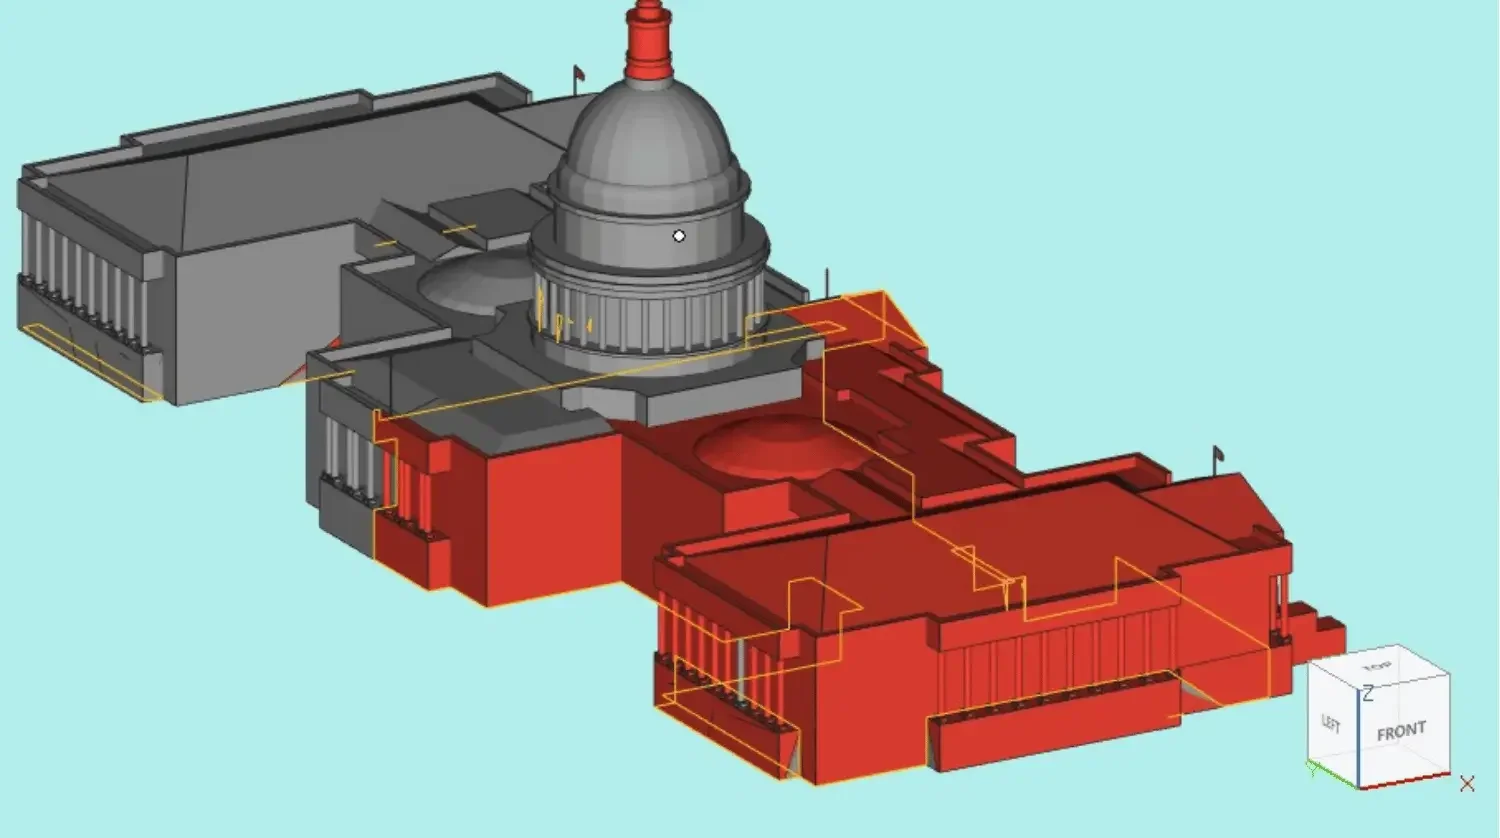
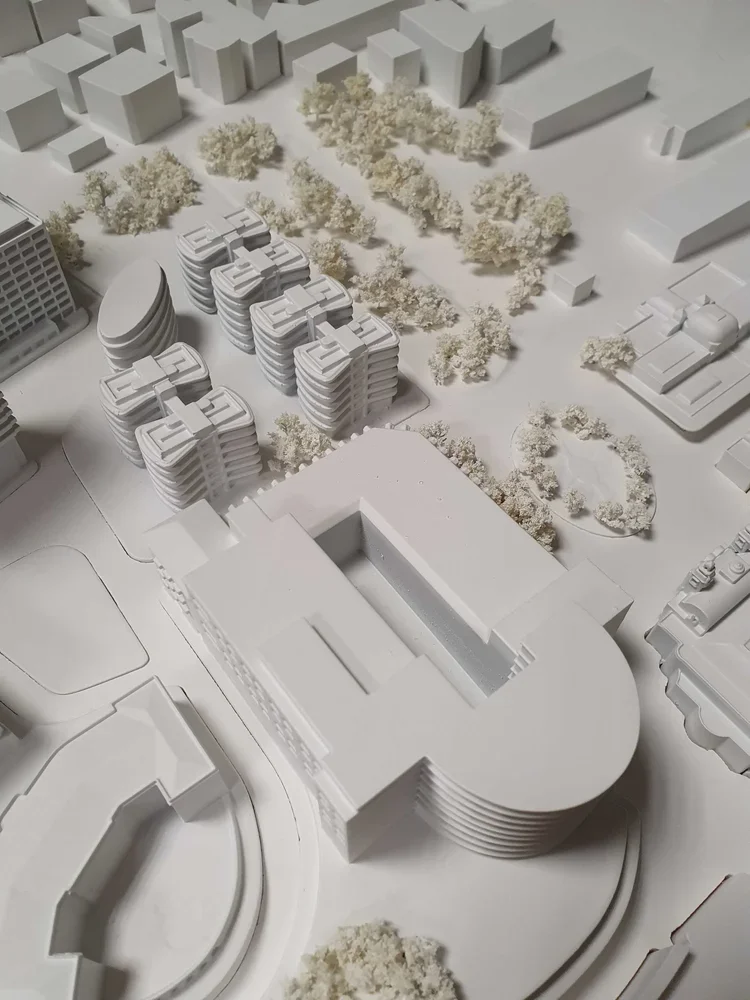
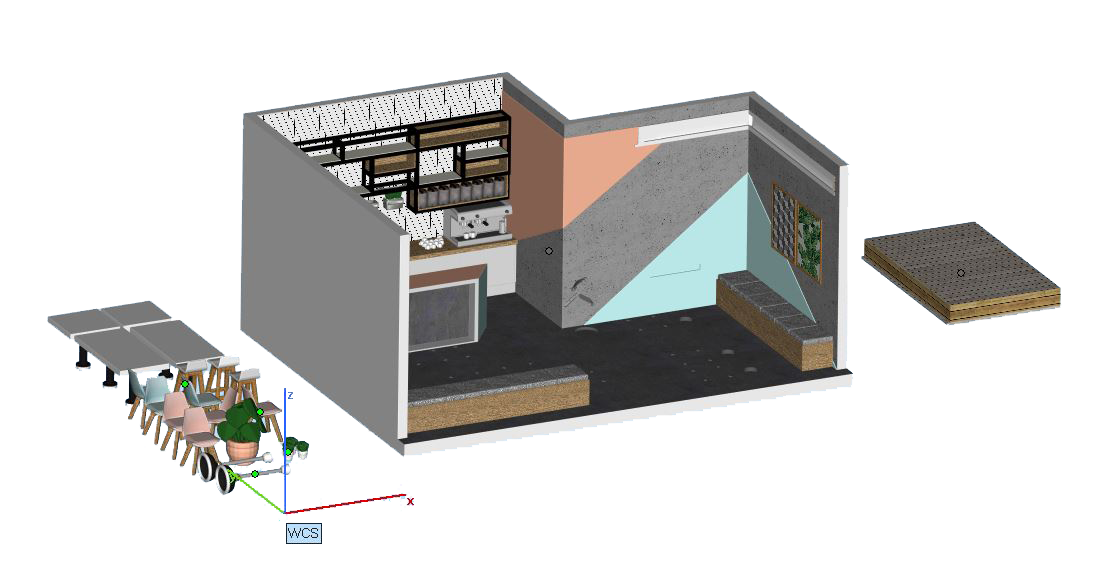
Real-World Example: Accelerating an Architectural Competition Model
Recently, a London-based architectural practice required a detailed competition model for a masterplan presentation.
The initial file contained:
Hundreds of separate components
Non-manifold geometry
Excessive wall thicknesses
Unsupported architectural features
The workflow was optimized through:
Mesh repair and validation
Component consolidation
SLA-specific orientation strategies
Multi-part nesting
Automated support generation
The result was a significant reduction in production time while maintaining presentation-quality detail.
More importantly, the model was delivered ahead of the client presentation deadline, allowing the design team additional time for stakeholder review and final adjustments.
This type of workflow optimization is often more valuable than simply increasing print speed.
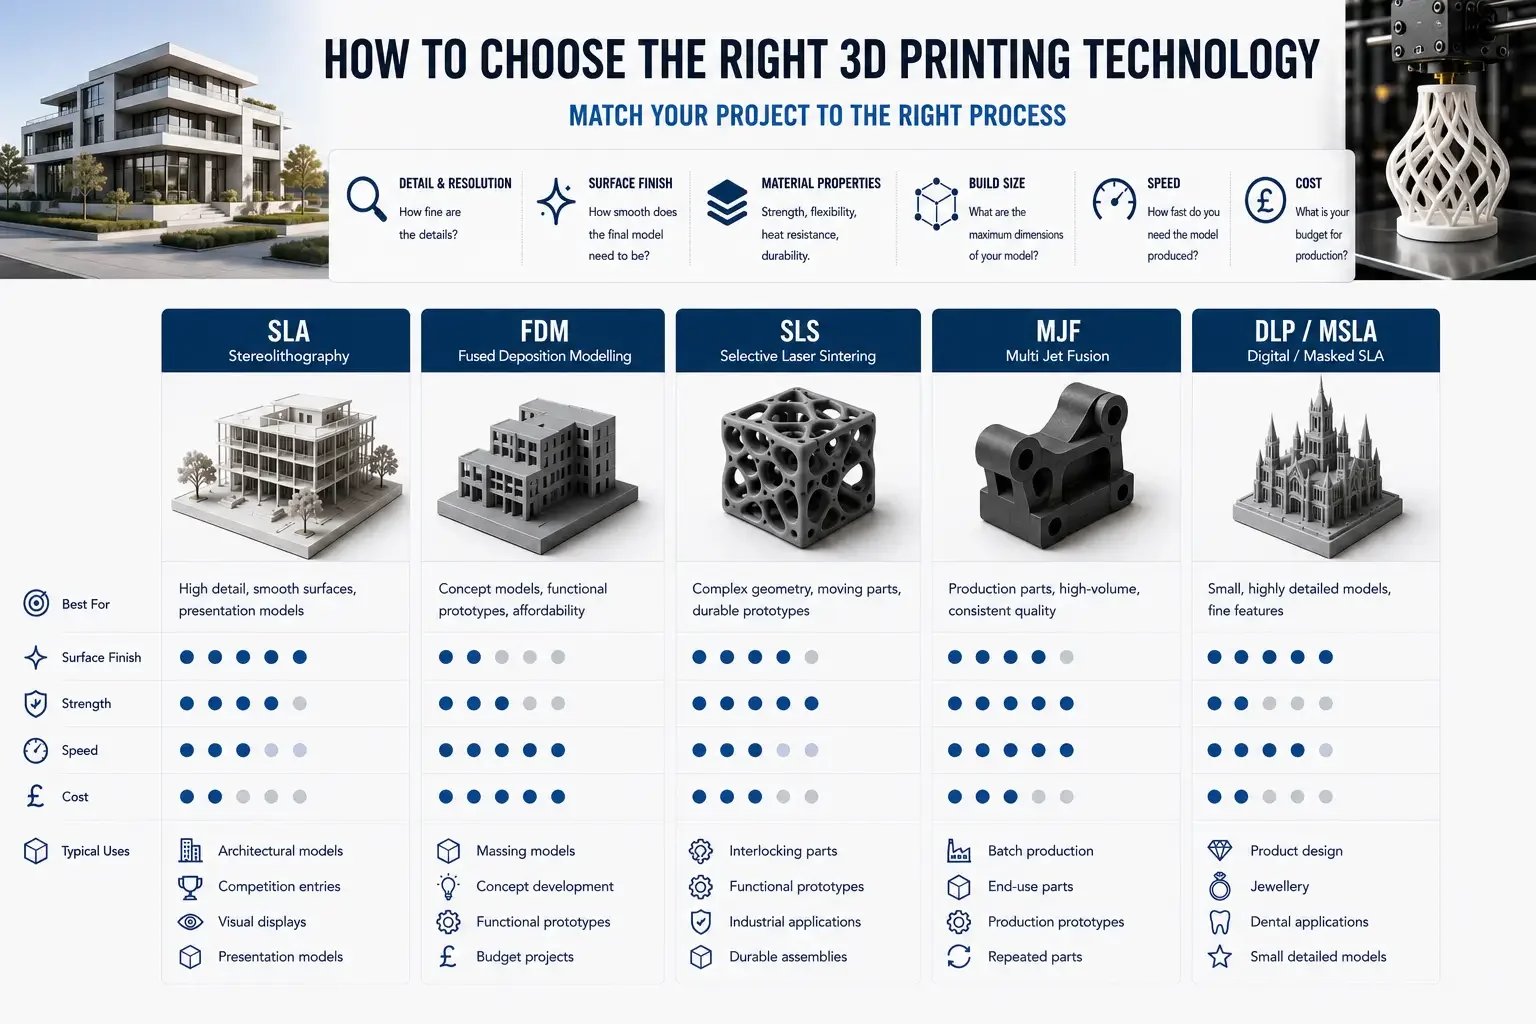
Slicing and Preparation Best Practices
Choose the Right Slicing Software
Professional users commonly rely on:
Cura
PreForm
Bambu Studio
Lychee Slicer
Modern slicers increasingly use AI-assisted algorithms to optimize supports and orientation.
Reduce Supports Wherever Possible
Support structures increase:
Material consumption
Post-processing labour
Surface blemishes
Production costs
Techniques include:
Re-orientation
Self-supporting geometry
Model segmentation
Support blockers
Support optimization alone can reduce resin consumption by 10–30% depending on geometry.
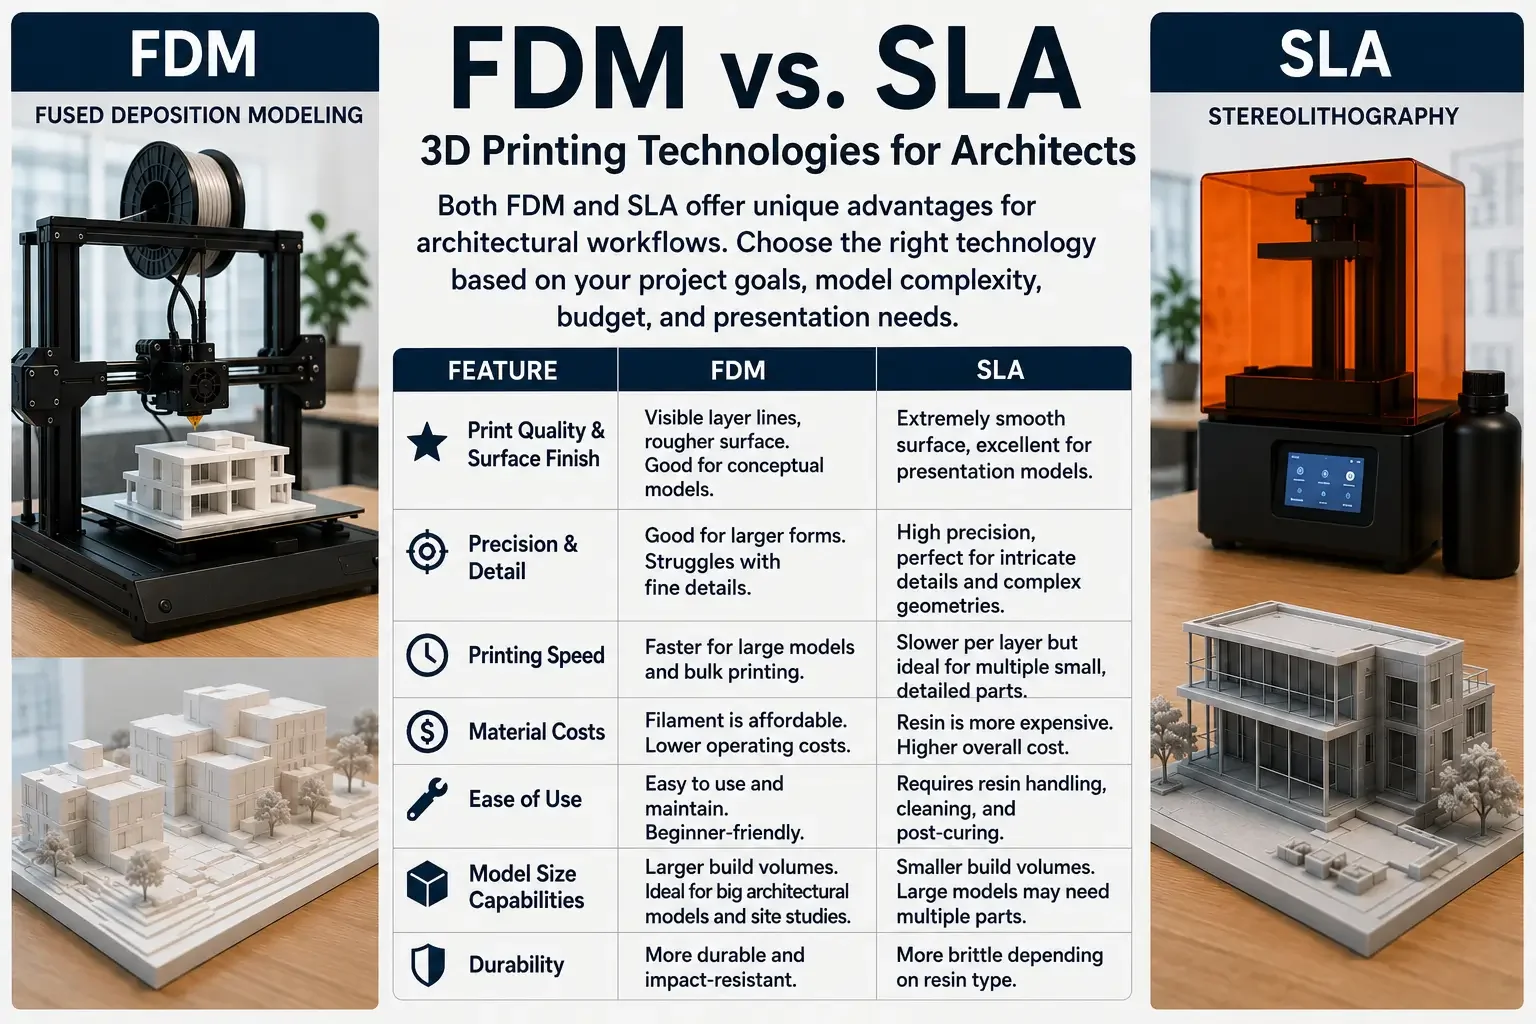
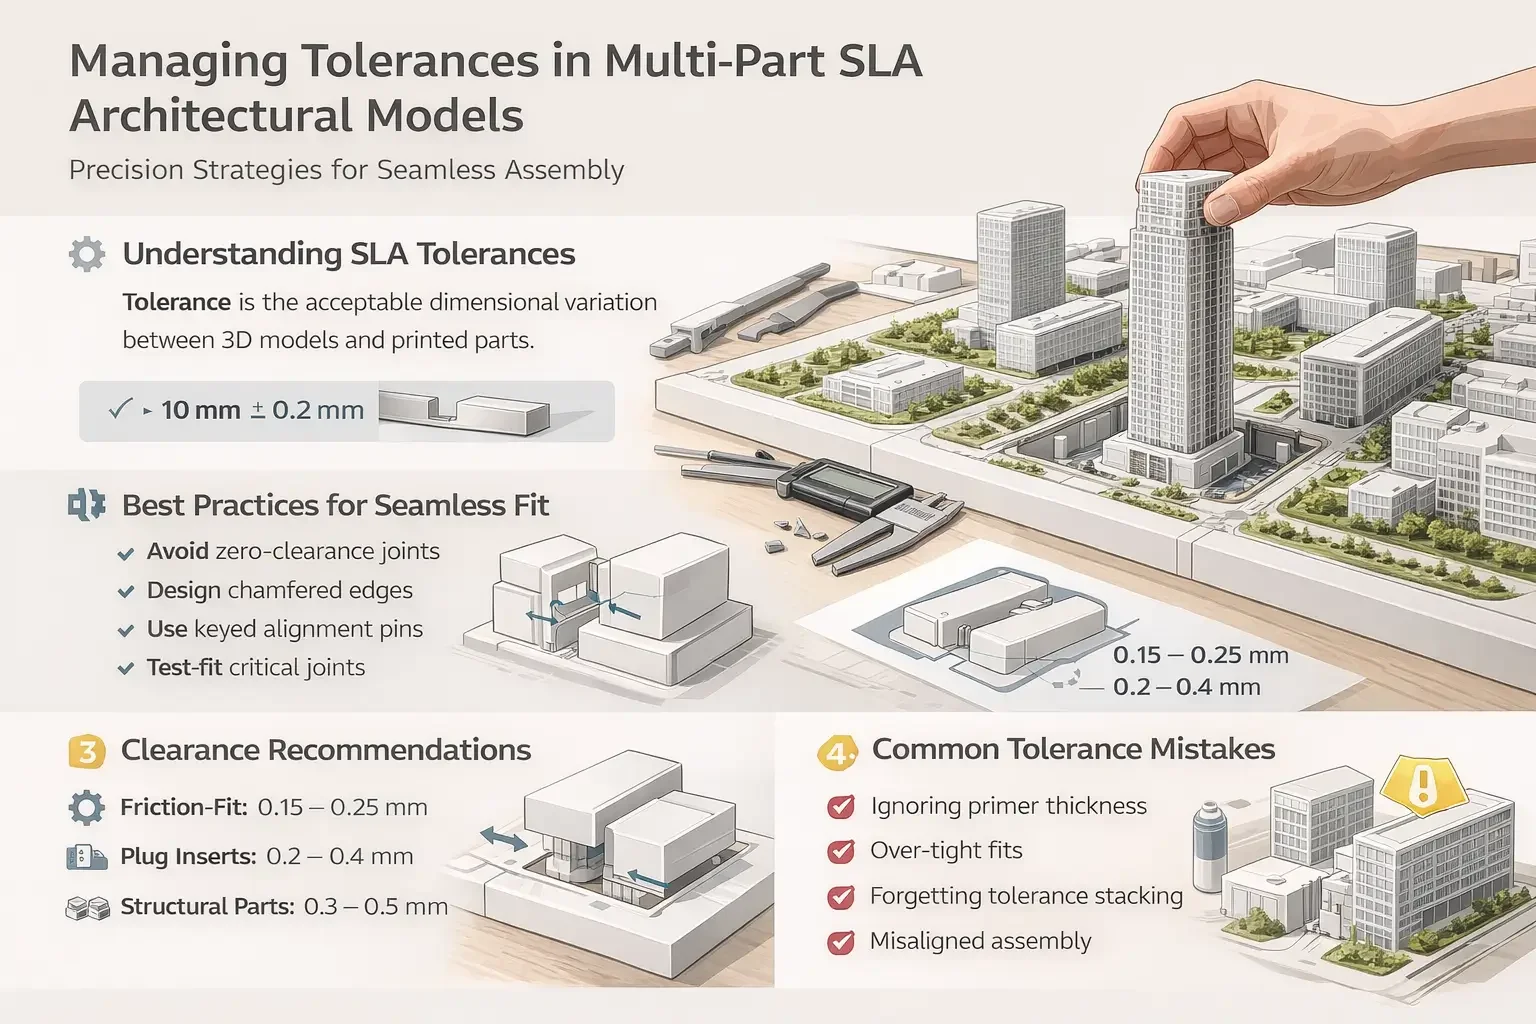
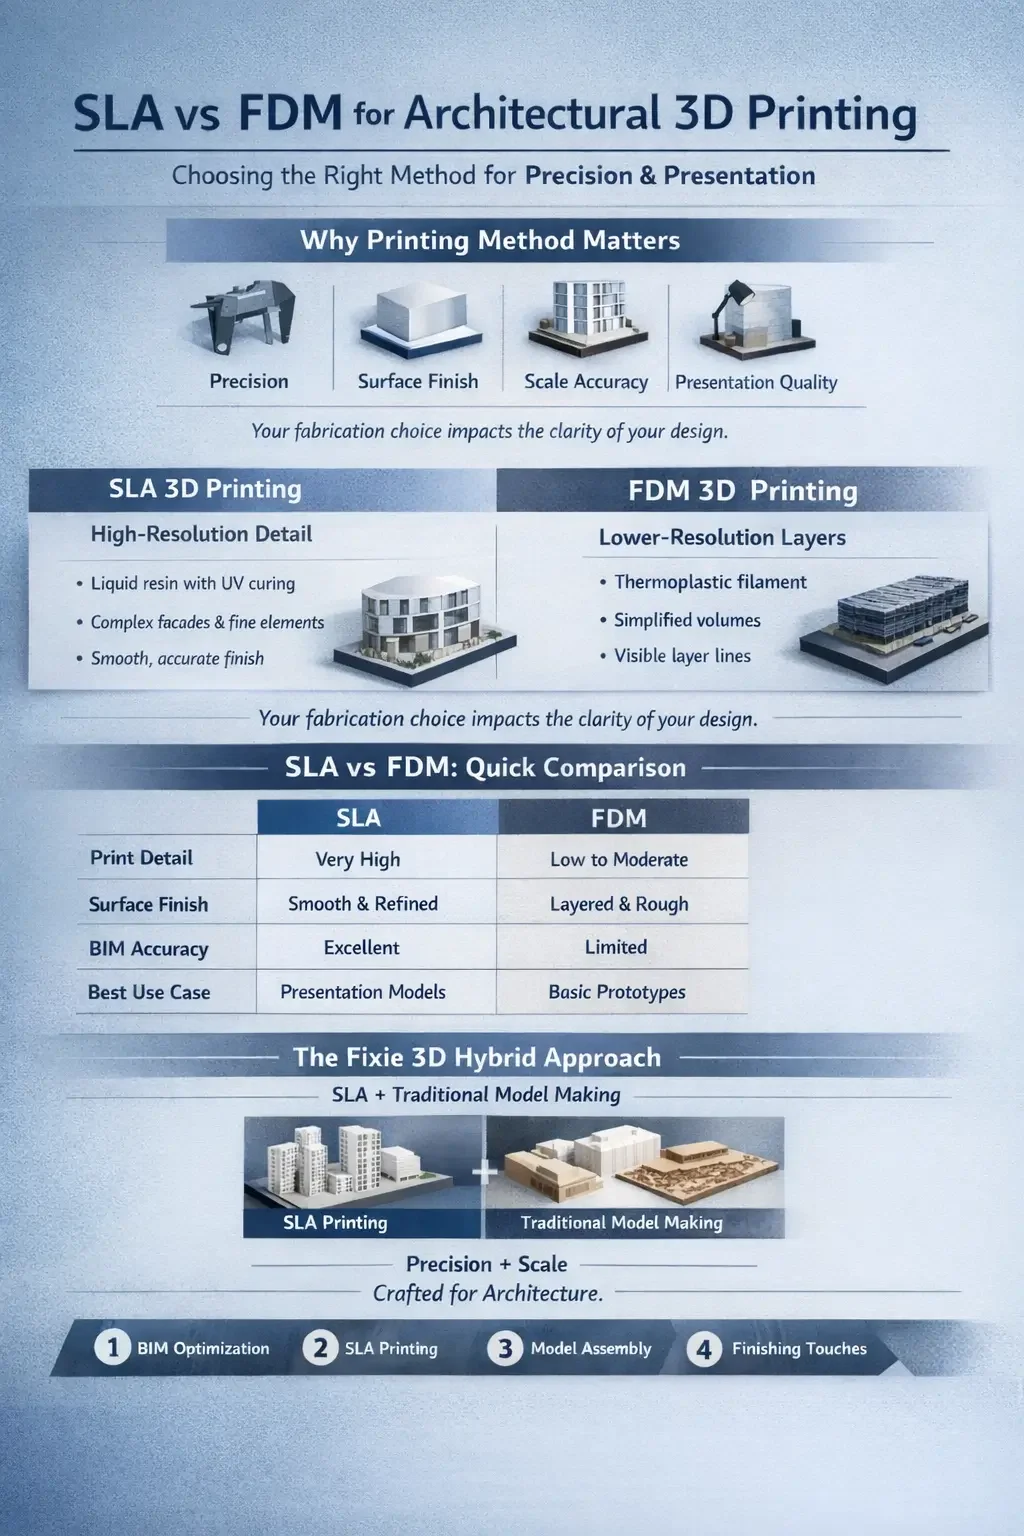
SLA Workflow Optimization: Expert Tips for Architects
Because SLA remains the preferred technology for architectural model making, several workflow considerations are particularly important.
Select the Correct Resin
Different resins impact:
Detail resolution
Surface quality
Durability
Finishing requirements
Choosing the right resin can significantly reduce post-processing effort.
Hollow Large Parts
Benefits include:
Lower resin consumption
Faster build times
Reduced costs
Improved sustainability
Add Drainage Holes
For large SLA models:
Improve resin drainage
Reduce suction forces
Prevent print failures
Minimize Peel Forces
Orientation should be optimized to reduce peel stress during printing.
This is especially important for large-format architectural models where print failures can become expensive.
Printing Phase: Speed and Reliability Strategies
Prioritize Consistency Over Maximum Speed
A failed six-hour print is slower than a successful eight-hour print.
Focus on:
Stable temperatures
Printer calibration
Resin quality
Preventive maintenance
Create a Maintenance Schedule
Weekly checks should include:
Build platform inspection
Resin tank assessment
Optical system cleaning
Material verification
Predictable workflows depend on predictable machines.
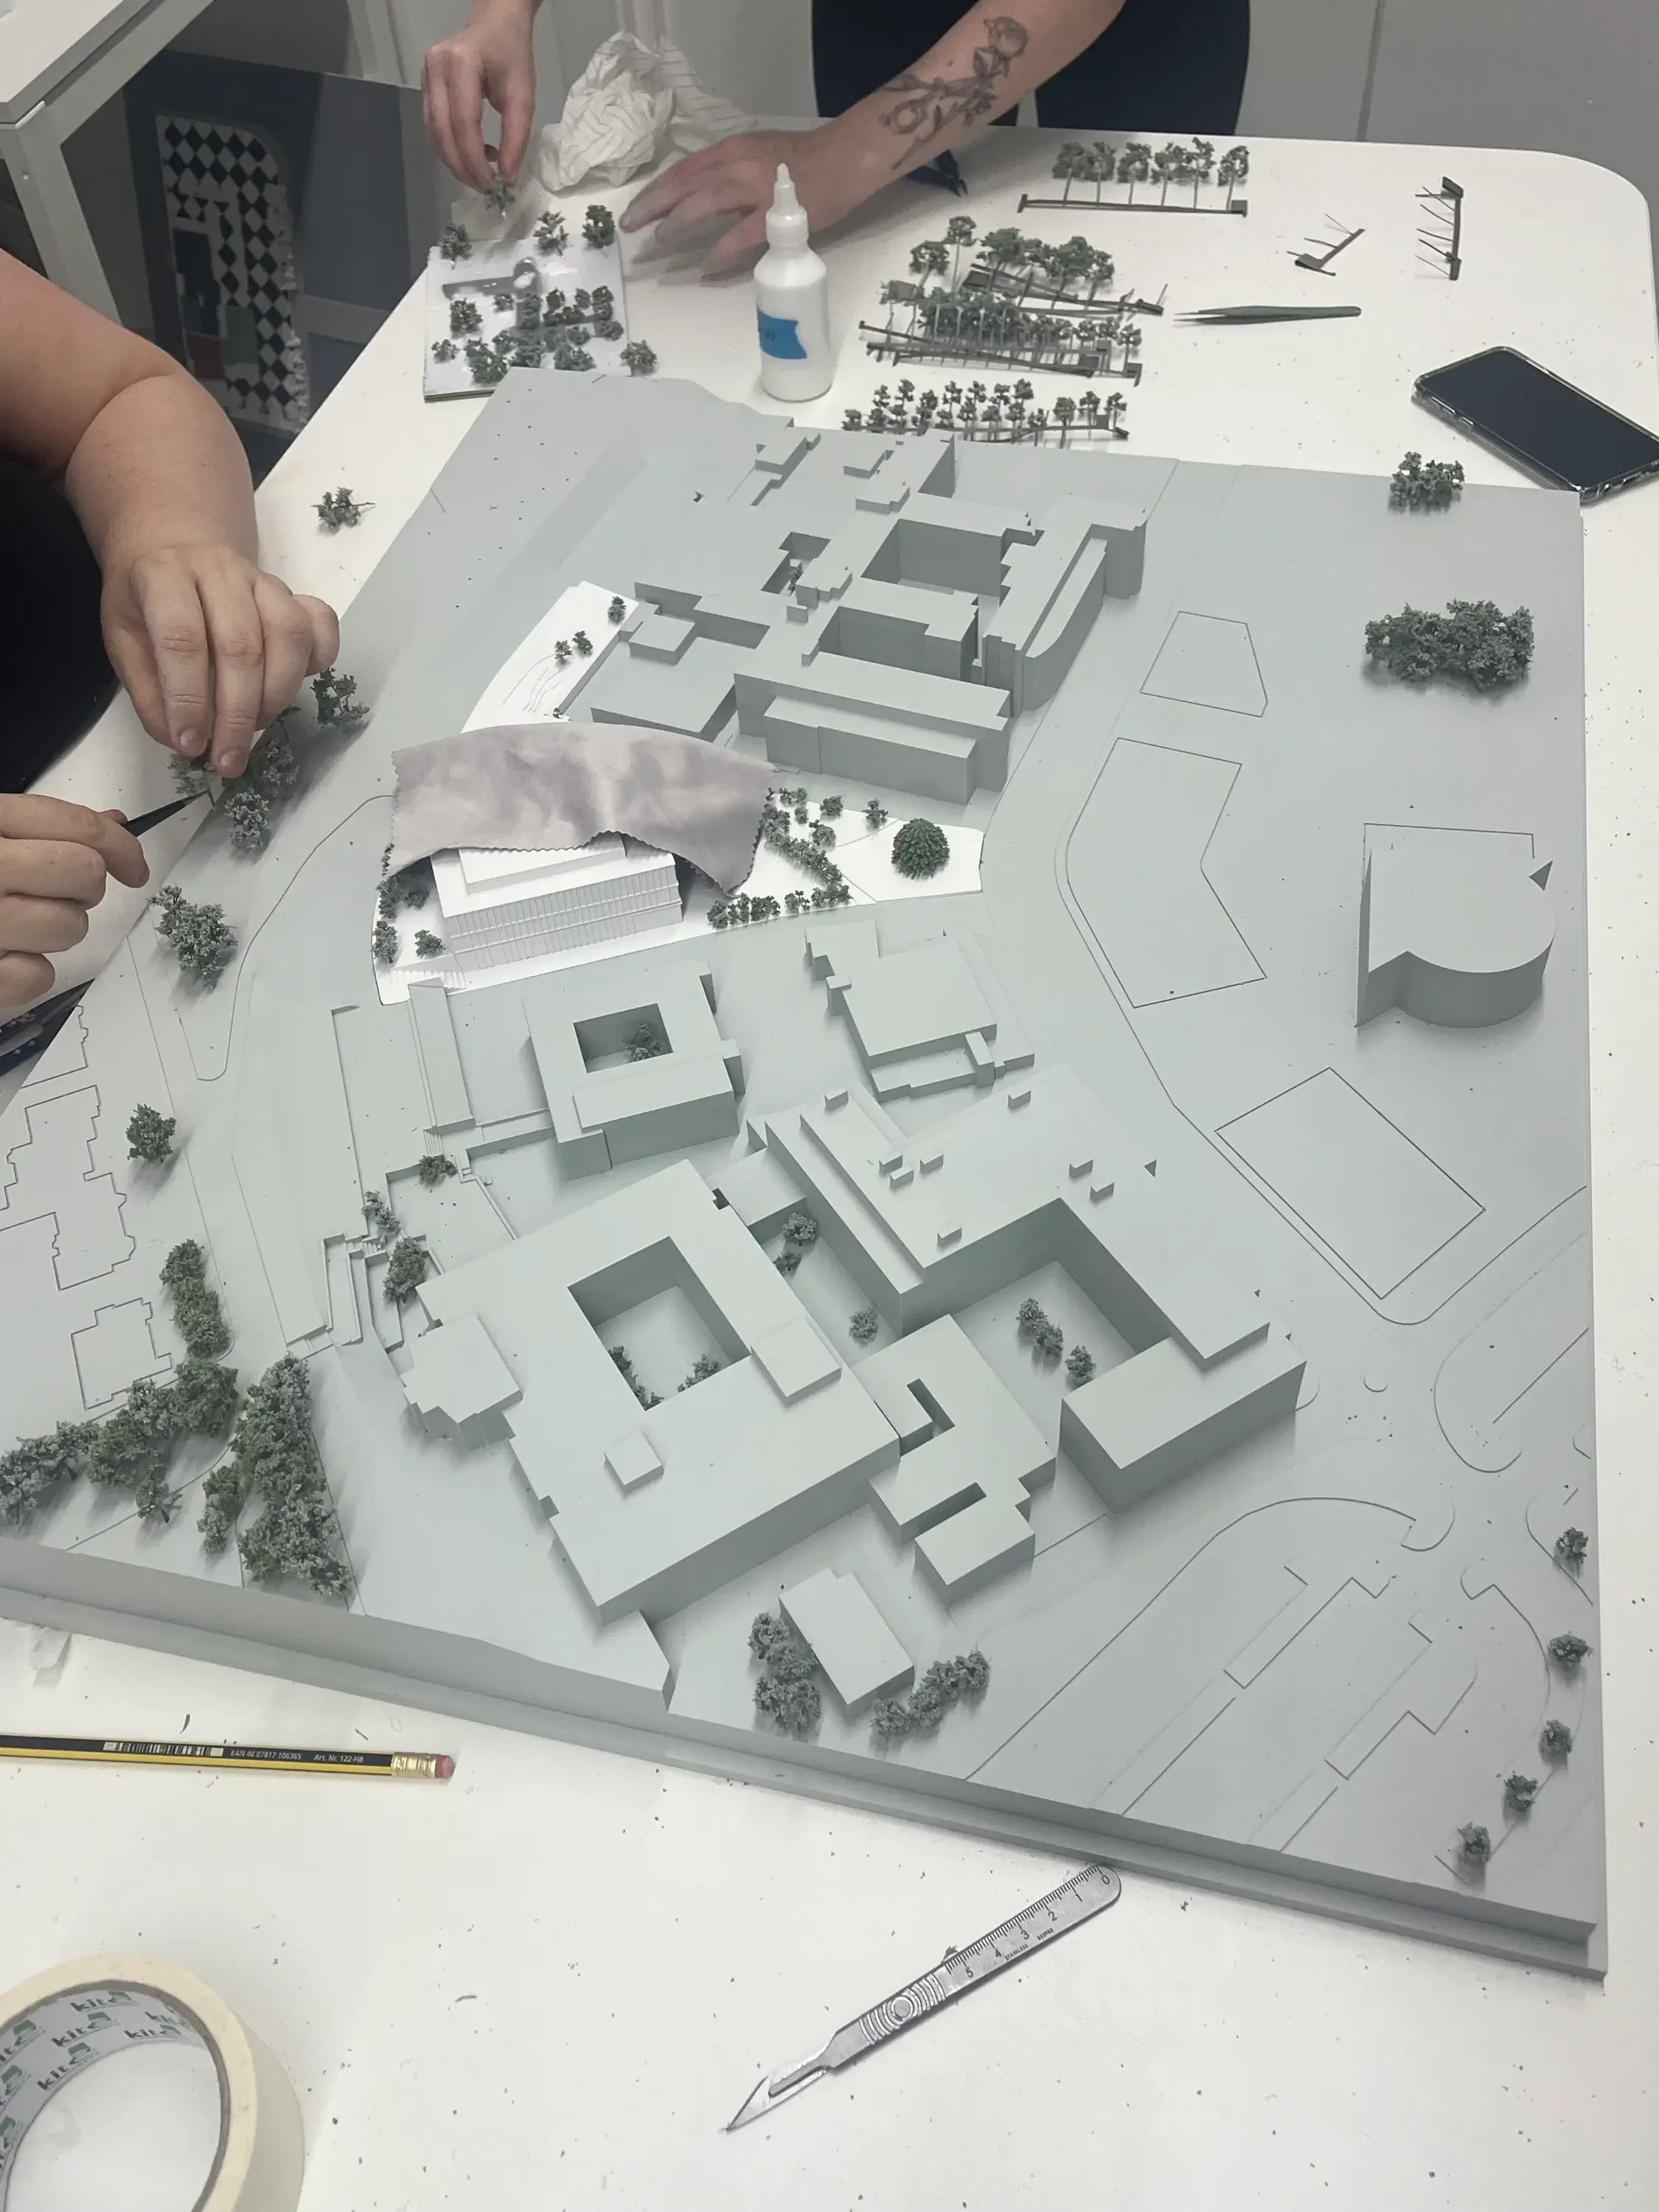
Post-Processing and Finishing Efficiency
Post-processing frequently represents the most labour-intensive stage of production.
A standardized SLA workflow should include:
Washing
Drying
UV Curing
Support Removal
Surface Preparation
Assembly
Quality Inspection
Invest in Automated Washing and Curing
Benefits include:
Improved consistency
Reduced labour
Faster throughput
Studies and industry benchmarks suggest automated workflows can reduce post-processing labour by 30–50%.
Seven Mistakes That Slow Down 3D Printing Projects
Avoid these common workflow killers:
1. Designing Without DfAM Principles
Creates unnecessary supports and assembly complexity.
2. Overusing Supports
Increases material usage and finishing time.
3. Ignoring Part Orientation
Leads to longer print durations and poor surface quality.
4. Using Excessive Resolution
Not every model requires ultra-fine layers.
5. Skipping Calibration
A major cause of failed prints.
6. Neglecting File Repair
Mesh errors can halt production entirely.
7. Planning Post-Processing Too Late
Finishing requirements should influence design decisions from the start.
AI, Automation and Additive Manufacturing Trends for 2026
AI-Driven Print Preparation
Modern systems increasingly provide:
Automatic orientation recommendations
Support generation
Failure prediction
Parameter optimization
Vision-Based Defect Detection
Computer vision systems now monitor:
Layer consistency
Warping
Delamination
Material flow
Defects can be detected before a build is completed, saving significant production time.
Fleet Management and Cloud Dashboards
For businesses operating multiple machines, cloud dashboards enable:
Remote monitoring
Production scheduling
Utilization tracking
Automated reporting
Many professional print farms now operate around the clock using centralized workflow management systems.
Hybrid Manufacturing
Combining additive and subtractive manufacturing is becoming increasingly common for high-value applications requiring precision finishing.
Sustainable Workflow Optimization
Workflow efficiency and sustainability are closely connected.
Strategies include:
Support minimization
Topology optimization
Hollow structures
Material-efficient nesting
Reduced print failures
Every failed print represents wasted material, energy, and labour.
The most sustainable workflows are usually the most efficient workflows.
Measuring Success: Key Metrics to Track
Monitor:
Production Metrics
Print success rate
Build duration
Machine utilization
Material consumption
Quality Metrics
Surface finish consistency
Dimensional accuracy
Reprint frequency
Business Metrics
Lead time
Cost per model
Client satisfaction
Project profitability
Continuous improvement depends on measurable data.
Workflow Optimization Checklist
Before every project:
✓ Validate CAD geometry
✓ Check wall thicknesses
✓ Optimize orientation
✓ Minimize supports
✓ Verify layer heights
✓ Confirm printer calibration
✓ Plan post-processing
✓ Review finishing requirements
✓ Establish quality checkpoints
Conclusion: Faster Results Begin Long Before Printing Starts
The most efficient 3D printing workflows are built around prevention, not correction.
By combining DfAM principles, intelligent slicing strategies, SLA-specific optimization, automation, and structured quality control, organizations can significantly reduce production times while improving output quality.
For architects and designers, this approach enables faster iteration cycles, more reliable project delivery, and higher-quality presentation models.
Need Help Accelerating Your Workflow?
Fixie 3D specializes in helping architects, developers, and design professionals streamline the entire additive manufacturing process.
Our services include:
Expert file repair and optimization
High-detail SLA 3D printing
Large-format architectural model production
Premium model-making finishes
Rapid prototyping services
Fast London-based turnaround
Whether you're producing a competition model, a planning submission, a client presentation piece, or a prototype, our team can help transform complex designs into exceptional physical models—faster and more efficiently.
Contact Fixie 3D today to discuss your project and discover how expert SLA printing and professional model making can accelerate your workflow.
About the Author
The Fixie 3D team combines specialist expertise in SLA printing, architectural model making, rapid prototyping, and advanced additive manufacturing workflows. With extensive experience supporting architects, designers, and developers, Fixie 3D delivers highly detailed models with exceptional accuracy, premium finishes, and fast turnaround times from its London production facility.